
 Pin This
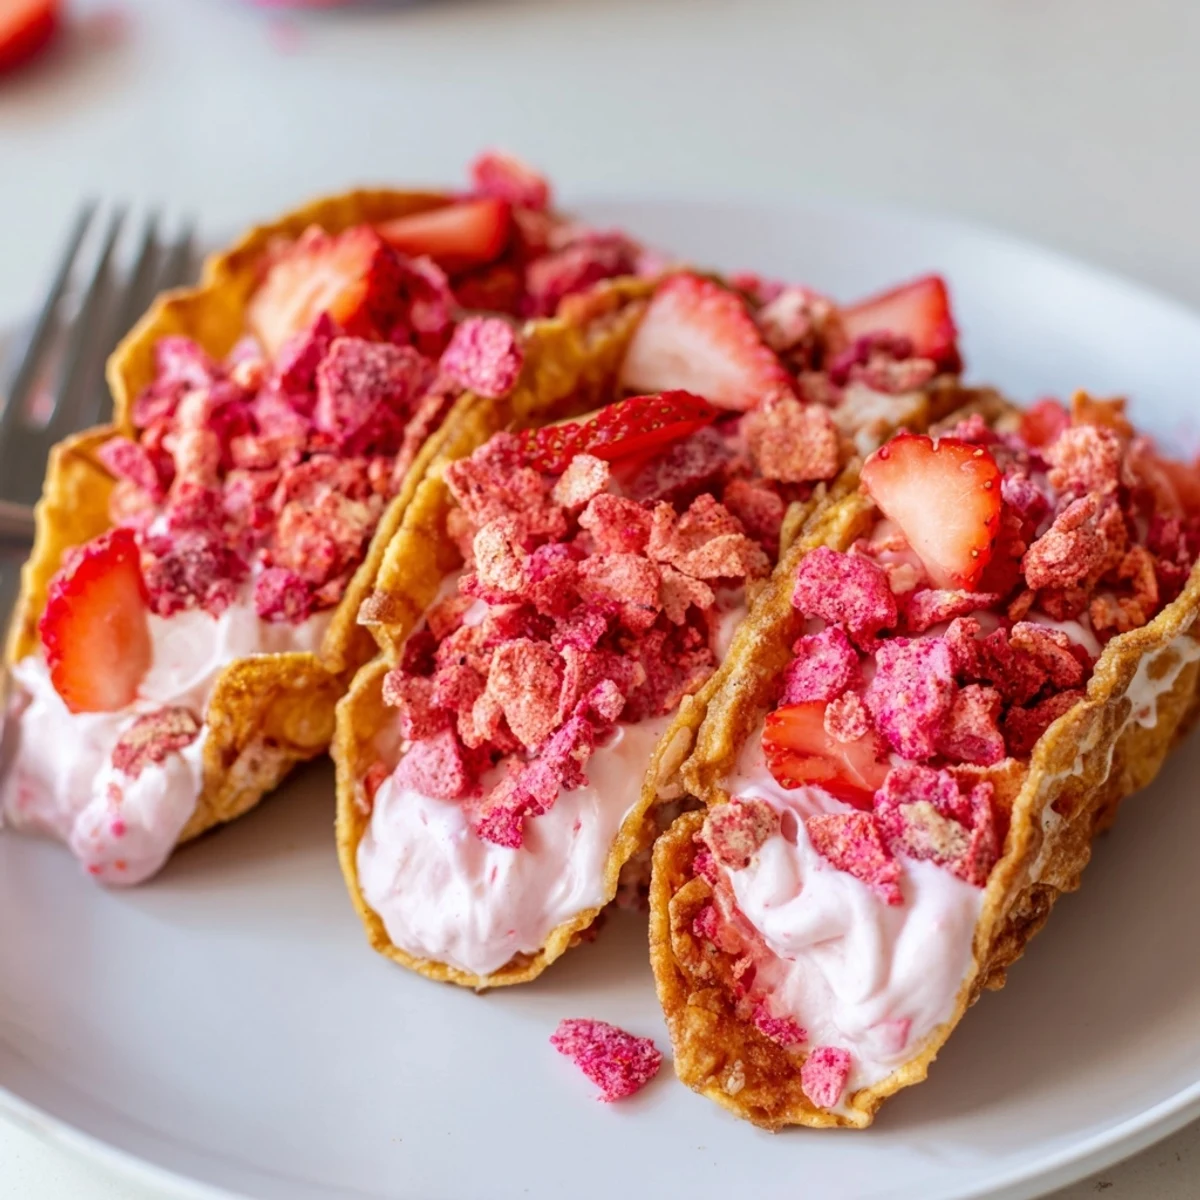
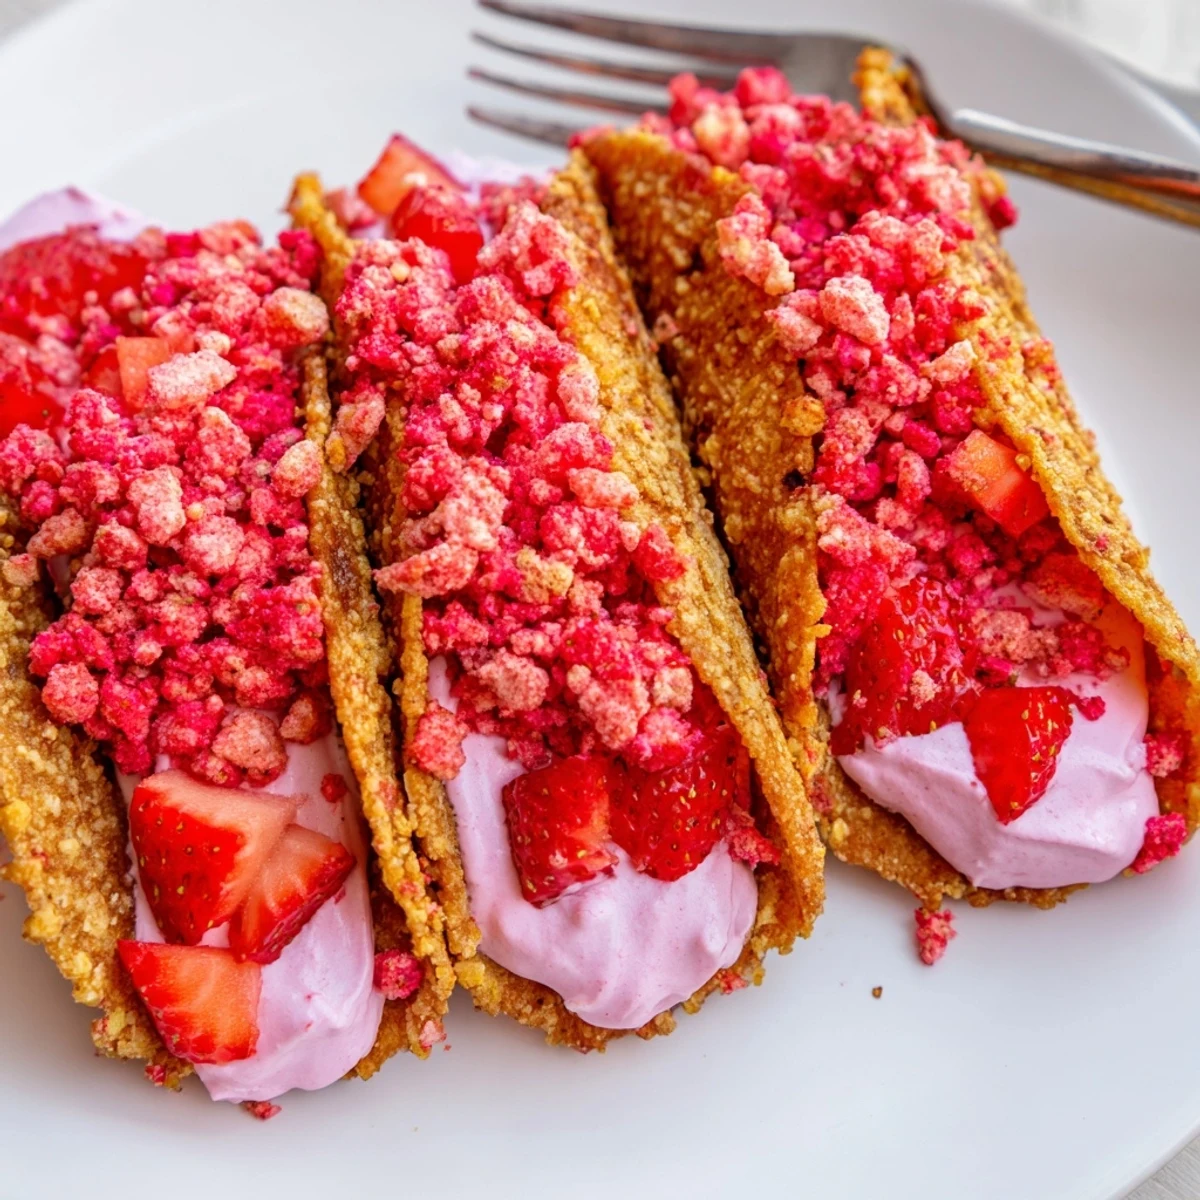
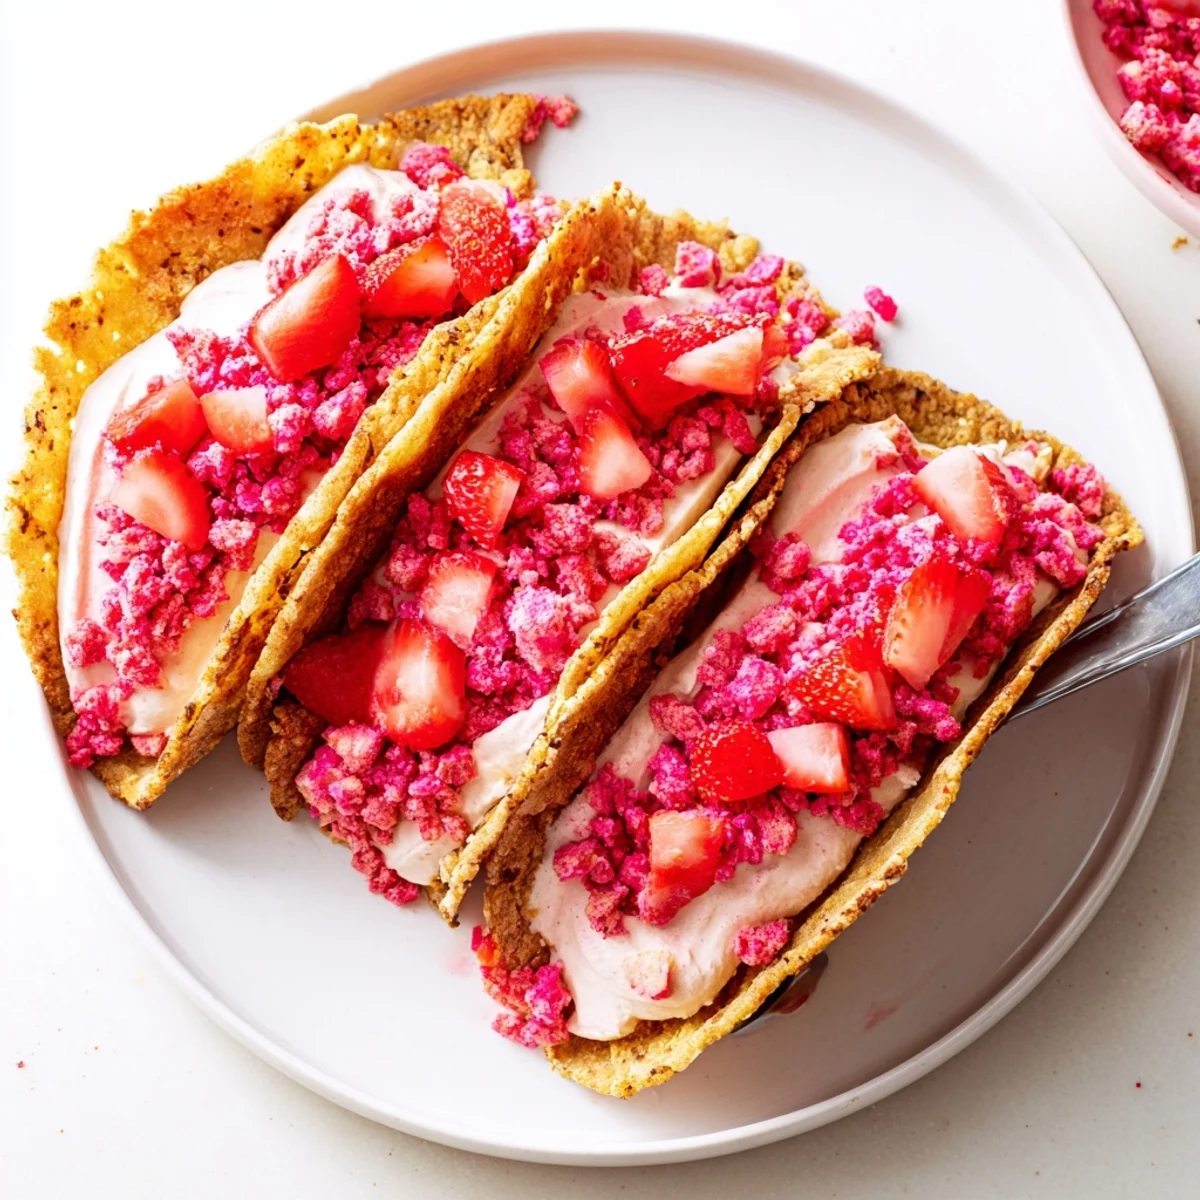
 These strawberry crunch cheesecake tacos bring together crispy baked tortilla shells brushed with butter and cinnamon sugar, a light and airy cheesecake mousse filling, and a vibrant strawberry crunch topping made from freeze-dried strawberries and crispy rice cereal.
Ready in just 35 minutes with no chilling required, they're perfect for parties, potlucks, or a fun weekend treat. The contrast of textures — the snap of the shell, the silkiness of the filling, and the satisfying crunch on top — makes every bite irresistible.
The strawberry shortcake ice cream bar was my everything as a kid, that crunch coating crumbling everywhere while I tried to eat it before it melted. So when my daughter asked for tacos for her birthday dessert, my brain went somewhere weird and wonderful. What if a taco tasted like that ice cream truck memory but looked like something from a bakery window I could never afford to linger at. These strawberry crunch cheesecake tacos were born from that chaotic impulse and they have not left my rotation since.
I brought a tray of these to a potluck last summer and watched a grown man eat four of them standing up before dinner was even served. He looked guilty but not guilty enough to stop.
Ingredients
- 8 small flour tortillas: The smaller ones work best because large tortillas overwhelm the filling and fall apart when shaped.
- 2 tbsp unsalted butter melted: Brushed on generously it helps the cinnamon sugar stick and gives the shells that golden crispness.
- 2 tbsp granulated sugar: Just enough sweetness on the shell to complement the filling without competing with it.
- 1 tsp ground cinnamon: This subtle warmth pairs surprisingly well with the strawberry topping.
- 225 g cream cheese softened: Let it sit out for at least thirty minutes because cold cream cheese will leave you with lumpy filling no matter how hard you beat it.
- 120 ml heavy cream: Whipped and folded in it gives the filling a light mousse texture rather than a dense brick.
- 60 g granulated sugar: Keeps the filling sweet but not cloying so the strawberries stay the star.
- 1 tsp vanilla extract: A quiet background note that rounds everything out.
- 120 g freeze-dried strawberries: Do not use regular dried strawberries here because the moisture content will ruin the crunch factor entirely.
- 100 g crispy rice cereal: The secret to that nostalgic ice cream bar texture we are chasing.
- 2 tbsp unsalted butter melted (for topping): Binds the crunch together and adds richness.
- 2 tbsp granulated sugar (for topping): Helps the crumble hold its shape and adds a slight caramel note when it sits.
- 150 g fresh strawberries diced: The juicy fresh element that makes these feel bright rather than heavy.
Instructions
- Shape and bake the shells:
- Preheat your oven to 180 degrees Celsius. Brush each tortilla with melted butter and sprinkle with cinnamon sugar then drape them directly over the bars of your oven rack so they sag into a taco shape. Bake for seven to nine minutes until golden and crisp then let them cool completely before filling.
- Whip up the cheesecake filling:
- Beat the softened cream cheese with sugar and vanilla until completely smooth and creamy with no lumps hiding in the corners. In a separate bowl whip the heavy cream to medium peaks then gently fold it into the cream cheese mixture with a spatula using slow sweeping motions. Transfer the filling to a piping bag if you want neat tacos or just spoon it into a bowl if you are keeping things casual.
- Build the strawberry crunch:
- Pulse the freeze-dried strawberries and rice cereal in a food processor until you get a coarse crumb with some bigger pieces remaining for texture. Pour in the melted butter and sugar and pulse a few more times until everything is evenly coated and smells like a strawberry field.
- Assemble the tacos:
- Pipe or spoon the cheesecake filling generously into each cooled taco shell. Sprinkle the strawberry crunch over the top pressing gently so it adheres to the filling then finish with a scatter of fresh diced strawberries.
- Serve and watch them disappear:
- These are best eaten immediately while the shells are still crisp and the crunch is loud. Arrange them on a platter and try not to eat one before your guests arrive.
 Pin This
 The crunch topping sounds like gravel when you make it and that is exactly how you know you did it right.
Making Them Your Own
A drizzle of melted white chocolate over the finished tacos turns them into something that belongs behind a glass bakery case. I have also tried swapping the strawberries for freeze-dried raspberries and the result was a tangy purple version that disappeared even faster than the original.
Gluten-Free Friendly Swaps
Gluten-free tortillas work beautifully here though they tend to crisp up faster so check them a minute or two early. I learned that lesson the hard way when my first batch came out darker than intended but still somehow delicious enough to eat as evidence.
Storing and Planning Ahead
You can make the crunch topping and the cheesecake filling a day in advance and store them separately in the fridge. The taco shells can be baked and stored in an airtight container at room temperature for up to two days.
- Keep the components separate until the last possible moment for maximum crunch.
- The filling can be frozen in the piping bag for up to a month if you want to prep way ahead.
- Always make a few extra tacos because at least two will break during shaping and that is just the law of physics.
 Pin This
 Some desserts are about precision and others are about joy and these tacos live squarely in the joy category. Make a mess, laugh at the broken ones, and eat them standing over the sink if that is what the moment calls for.
Recipe FAQs
- → Can I make the taco shells ahead of time?
-
Yes, you can bake the taco shells up to 24 hours in advance. Store them in an airtight container at room temperature to maintain their crispness. Avoid refrigerating them, as moisture will soften the shells.
- → What can I substitute for freeze-dried strawberries?
-
If freeze-dried strawberries aren't available, you can crush strawberry-flavored sandwich cookies or graham crackers mixed with a bit of strawberry jam for a similar crunch and flavor profile.
- → How do I keep the taco shells from breaking?
-
Drape the buttered tortillas gently over the oven rack bars without pressing too hard. Let them cool completely on the rack before handling — they firm up as they cool and become sturdier for filling.
- → Can I pipe the cheesecake filling ahead of time?
-
The cheesecake mousse can be prepared and kept in the piping bag in the refrigerator for up to 4 hours. Give it a gentle squeeze to soften before piping into the shells when ready to serve.
- → Are these suitable for making gluten-free?
-
Absolutely. Swap the flour tortillas for gluten-free tortillas and verify that your crispy rice cereal is certified gluten-free. Everything else in the dish is naturally gluten-free.
- → What's the best way to serve these at a party?
-
Assemble them on a platter right before guests arrive and garnish with fresh diced strawberries. You can also set up a filling station and let guests fill their own tacos for a fun interactive dessert experience.