 Pin This
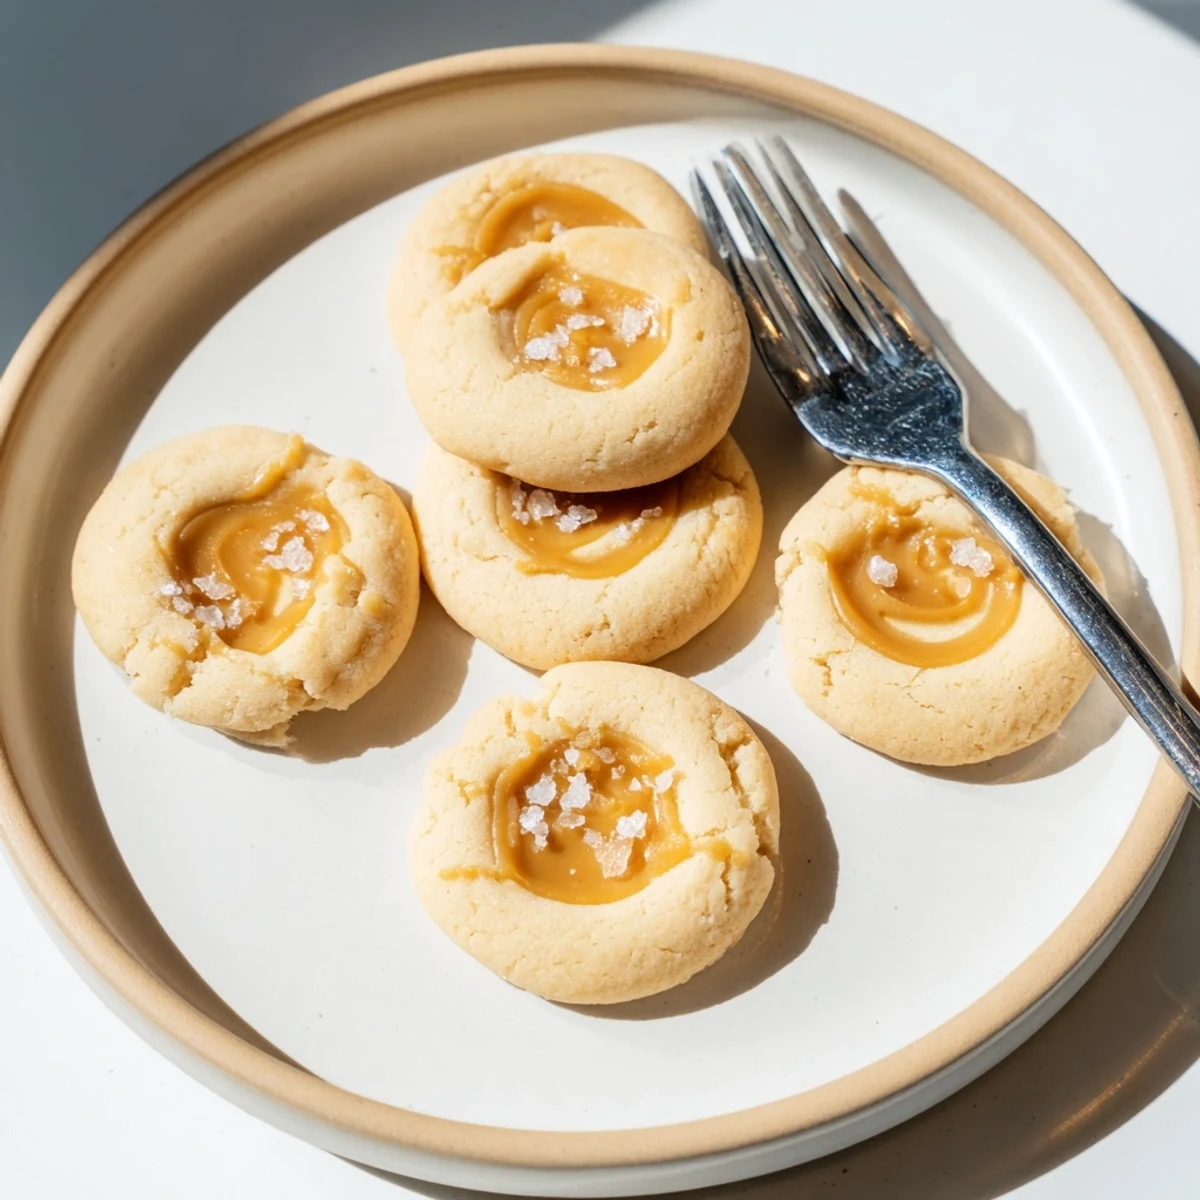
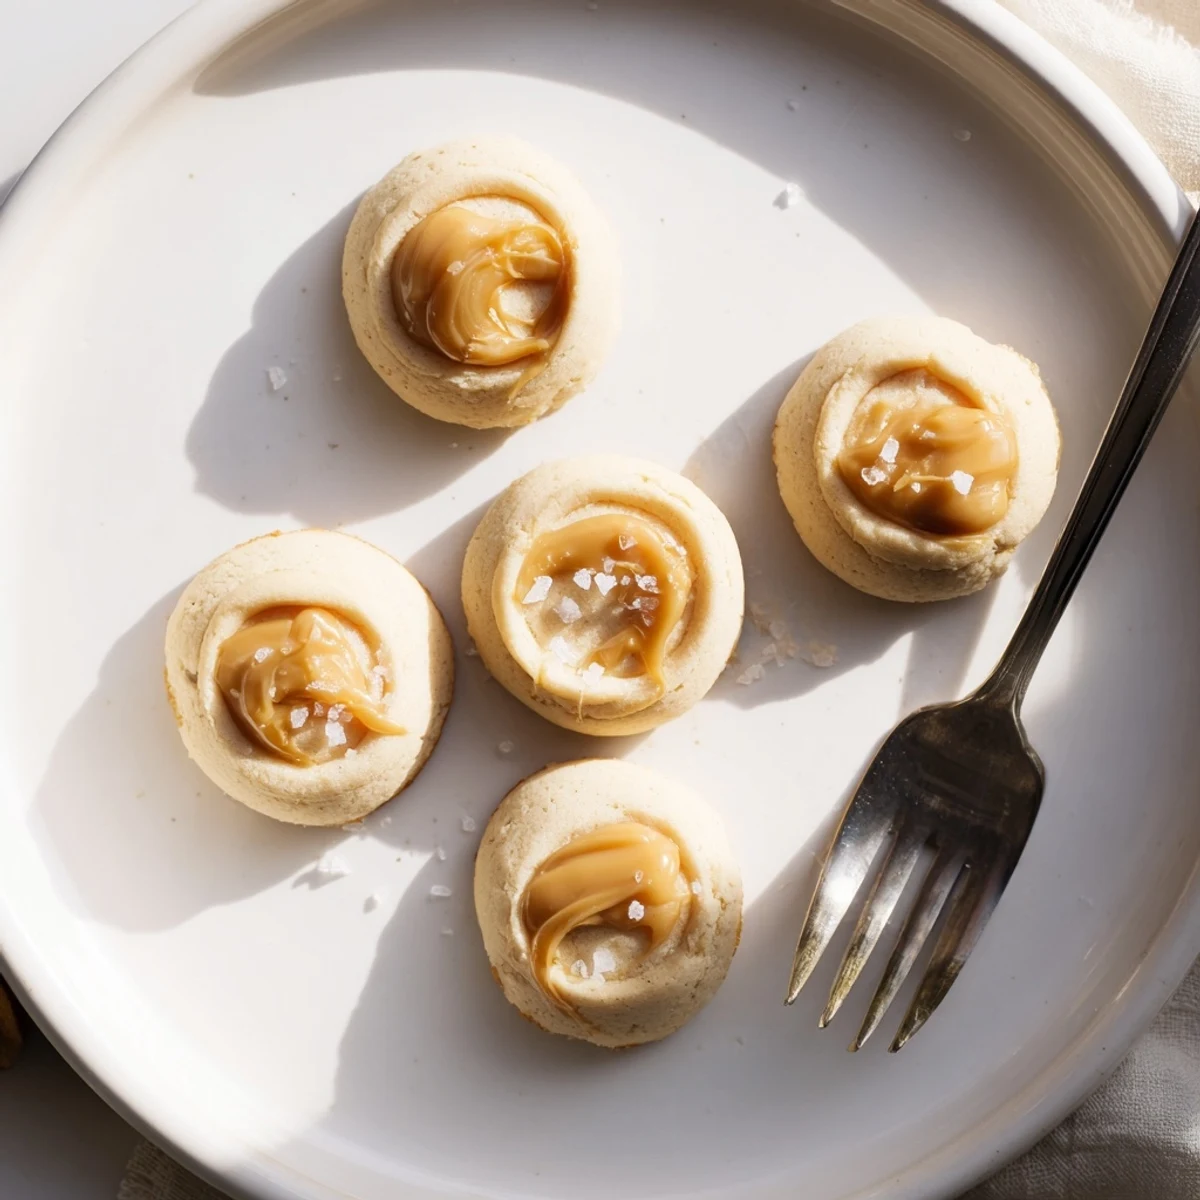
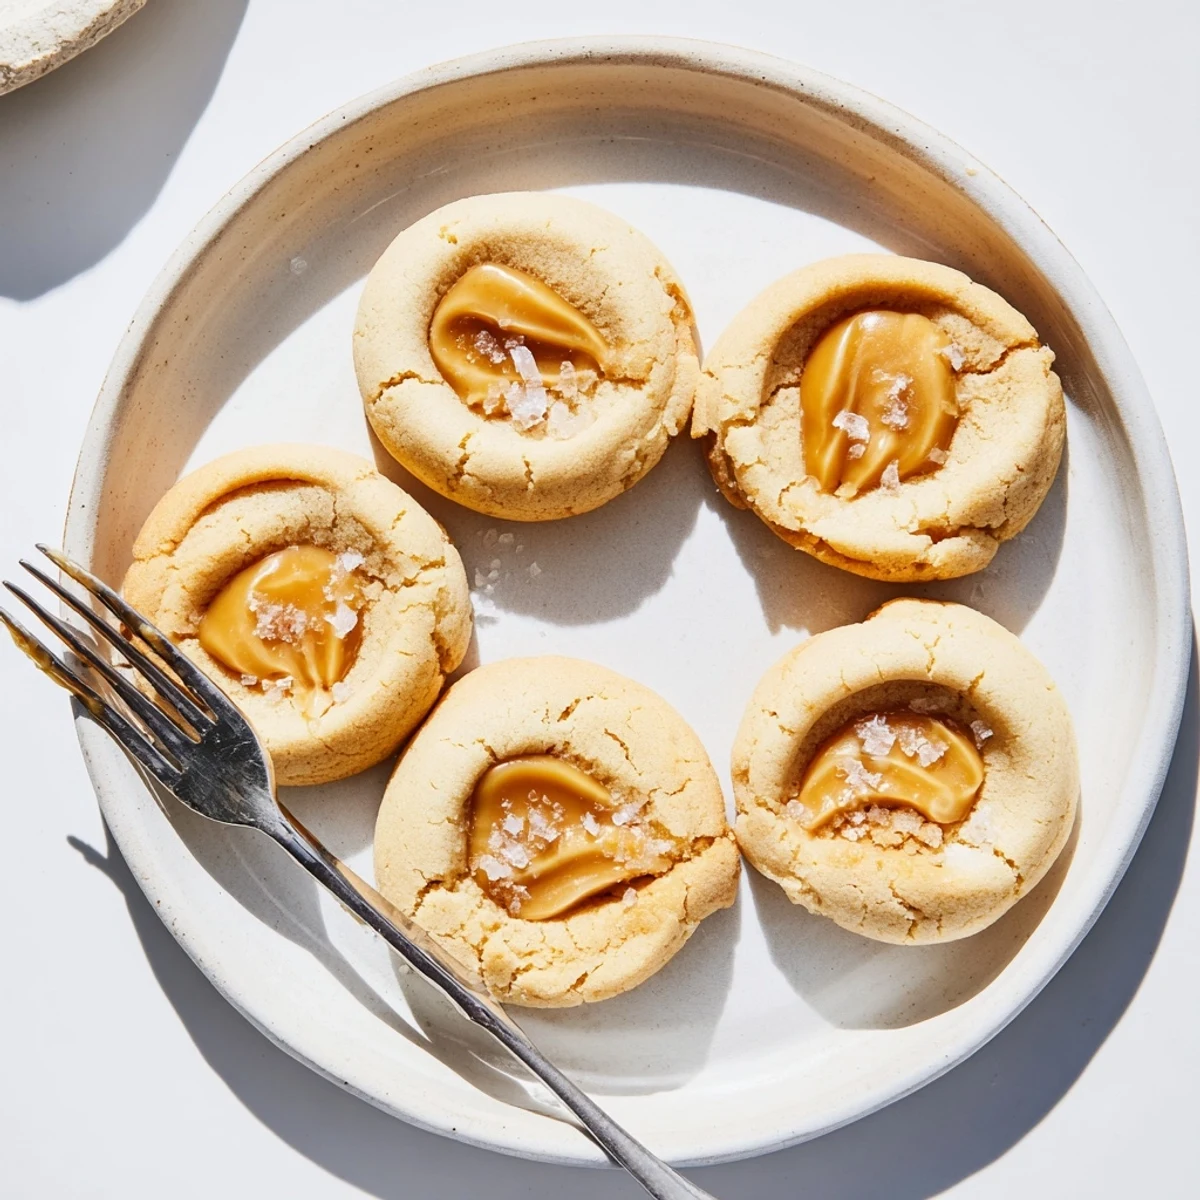
 These caramel cheesecake cookies combine a soft, buttery cream cheese dough with luscious caramel swirls for an irresistible treat. The dough comes together quickly with basic pantry staples—butter, cream cheese, sugar, egg, and vanilla—then chills briefly for easier handling.
Each cookie is scooped, indented, and filled with a swirl of caramel sauce before baking to golden perfection. In under 15 minutes in the oven, you'll have 24 beautifully swirled cookies with lightly crisp edges and tender, creamy centers.
They're ideal for holiday cookie trays, dessert tables, or an everyday sweet indulgence with a glass of milk.
The oven had just beeped its preheat tone when my neighbor knocked on the door holding a jar of homemade caramel sauce, and something about that coincidence felt like destiny. Twenty minutes later I was elbow deep in cream cheese and butter, inventing what would become the most requested cookie in my apartment building. The smell alone could probably get you a compliment from three floors down.
I brought a batch to a potluck once and watched a quiet coworker eat four of them standing up before even saying hello to anyone. That reaction told me everything I needed to know about where these rank on the crowd pleaser scale.
Ingredients
- Unsalted butter (1/2 cup, softened): Pull it out of the fridge an hour ahead, because cold butter will leave you with lumpy dough and a workout you did not sign up for.
- Cream cheese (4 oz, softened): This is the secret weapon that makes the texture almost pillow like, so use full fat if you can.
- Granulated sugar (1 cup): Regular white sugar works perfectly here since the caramel brings most of the deep sweetness.
- Large egg (1): Room temperature egg blends more evenly into the butter mixture and helps the dough hold together.
- Vanilla extract (1 tsp): A good quality vanilla adds a warm background note that makes the caramel taste even more rounded.
- All purpose flour (2 cups): Spoon and level it gently, because packed flour turns soft cookies into little hockey pucks.
- Baking powder (1/2 tsp): Just enough lift to keep these from spreading into flat puddles on the sheet.
- Salt (1/4 tsp): Do not skip this, because salt is what makes the caramel sing instead of tasting one note.
- Soft caramel sauce (1/2 cup, slightly cooled): Store bought is totally fine, but if your caramel is too hot it will melt right through the dough before baking.
Instructions
- Blend the base:
- Beat the softened butter and cream cheese together in a large bowl until the mixture looks completely smooth with no streaks, about two minutes. You want it to feel like frosting when you are done.
- Sweeten and fluff:
- Add the sugar and keep beating until everything turns pale and noticeably fluffier. Pause once to scrape down the bowl so nothing hides in the corners.
- Add the wet ingredients:
- Drop in the egg and vanilla, then mix until they disappear completely into the batter. The dough should look glossy and cohesive at this point.
- Incorporate the dry mixture:
- Whisk the flour, baking powder, and salt in a separate bowl, then add them gradually to the wet ingredients. Stop mixing the second you no longer see dry flour, because overworking the dough makes tough cookies.
- Chill the dough:
- Cover the bowl tightly and tuck it into the refrigerator for at least thirty minutes so the fat firms up and the dough becomes scoopable. This patience pays off in thicker, chewier cookies.
- Prep for baking:
- Preheat your oven to 350 degrees Fahrenheit and line two baking sheets with parchment paper so the caramel never sticks and cleanup is effortless.
- Shape the cookies:
- Scoop heaping tablespoons of dough onto the sheets, leaving about two inches of space between each one for spreading. Use the back of your spoon to press a small indent into the center of every mound.
- Swirl in the caramel:
- Dollop roughly half a teaspoon of caramel sauce into each indent, then drag a knife or toothpick through it in a loose figure eight. Imperfect swirls actually look more charming than precise ones.
- Bake until golden:
- Slide the trays into the oven for eleven to thirteen minutes, watching for lightly golden edges while the centers still look slightly underdone. They will set as they cool.
- Cool and enjoy:
- Let the cookies rest on the baking sheet for five minutes before moving them to a wire rack, because moving them too early risks breaking those tender centers.
 Pin This
 One rainy Saturday I left a plate of these on the counter and came back to find my roommate sitting cross legged on the kitchen floor, happily eating them one after another without any shame. Some foods just have that magnetic pull.
The Right Way to Store These
Keep finished cookies in an airtight container at room temperature for up to four days, stacking them between sheets of parchment so the caramel tops do not stick together. They also freeze beautifully for up to two months if you can resist eating them all immediately.
Swapping Flavors and Toppings
A sprinkle of flaky sea salt on the caramel right before baking transforms these into a salted caramel situation that will ruin you for plain desserts. You can also swap the caramel for chocolate ganache, fruit preserves, or even lemon curd depending on what you have open in the fridge.
Getting the Texture Just Right
The trick to that dreamy soft center is pulling the cookies from the oven when the edges are set but the middle still looks slightly wet and puffy. They continue cooking on the hot pan for those five minutes of rest, which is exactly what you want.
- Use a cookie scoop for uniform size so every cookie bases at the same rate.
- If your kitchen is warm and the dough gets sticky while scooping, pop it back in the fridge for five minutes.
- Always taste test the first cookie warm, because that is a chef privilege you have earned.
 Pin This
 Share these with someone who thinks cookies cannot be elegant, and watch them change their mind by the second bite. They are proof that a little cream cheese and caramel can turn an ordinary afternoon into something worth remembering.
Recipe FAQs
- → Can I use store-bought caramel sauce for these cookies?
-
Yes, store-bought soft caramel sauce works perfectly. Make sure it's slightly cooled before swirling into the cookie dough so it doesn't spread too much during baking.
- → Why does the dough need to chill before baking?
-
Chilling the dough for at least 30 minutes firms up the butter and cream cheese, making the dough easier to scoop and shape. It also helps the cookies hold their structure and prevents excessive spreading in the oven.
- → How should I store leftover caramel cheesecake cookies?
-
Store the cooled cookies in an airtight container at room temperature for up to 3 days. For longer storage, refrigerate for up to a week. You can also freeze them for up to 2 months—just thaw at room temperature before serving.
- → Can I make the dough ahead of time?
-
Absolutely. The dough can be prepared and refrigerated for up to 24 hours before scooping and baking. You can also freeze the unbaked scooped dough and bake from frozen, adding 2–3 extra minutes to the baking time.
- → What can I substitute for the caramel sauce?
-
Chocolate ganache, fruit preserves, or Nutella are great alternatives to caramel. Keep the same amount—about 1/2 teaspoon per cookie—and swirl it in the same way before baking.
- → How do I get the perfect caramel swirl on each cookie?
-
Use the back of a spoon to press a small indent into each dough scoop, then add about 1/2 teaspoon of caramel sauce. Gently drag a toothpick or knife through the caramel in a circular motion to create a swirl effect without overmixing.