 Pin This
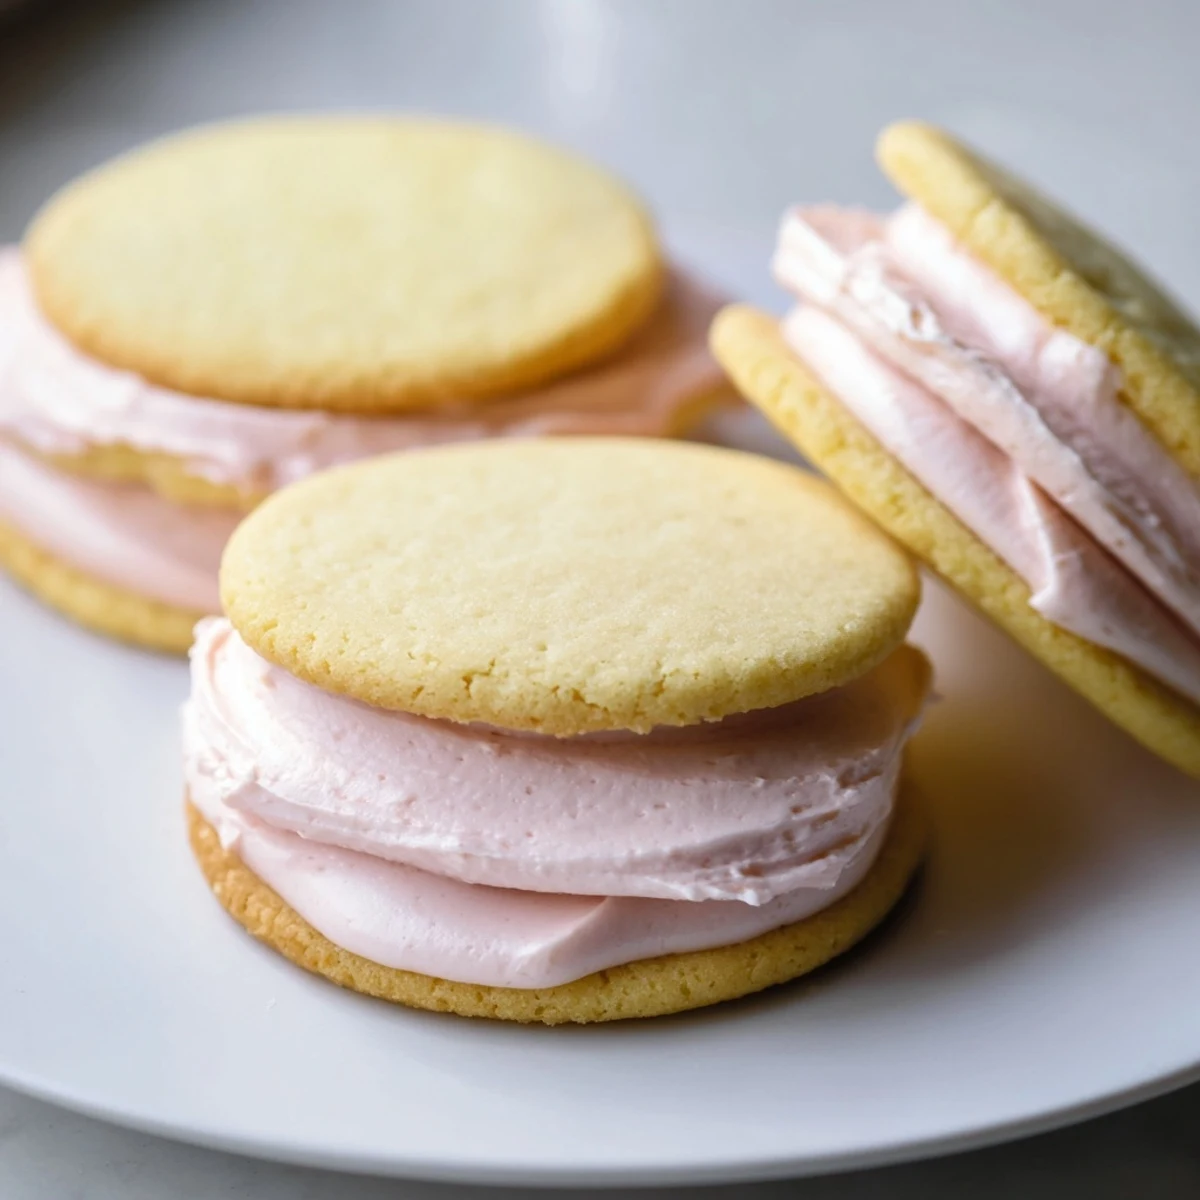
 These delicate sandwich cookies feature tender, buttery sugar cookies with a satisfyingly soft texture. The magic happens when you pair them with hand-tinted pastel buttercream in shades of pink, yellow, green, blue, or purple—perfect for matching any spring celebration or afternoon tea theme.
The dough requires chilling for easy rolling, and while the process involves multiple steps, each one is straightforward. The result is a bakery-worthy treat that looks impressive but tastes even better. You can customize the colors for holidays, birthdays, or simply because pastel desserts bring joy.
For the best experience, let the assembled cookies set for about 20 minutes before serving—this helps the buttercream firm up slightly while remaining creamy. The cookies stay fresh for three days when stored properly, though they rarely last that long once guests see their charming appearance.
The first time I made these was for a rainy Sunday baby shower, and I watched grown adults fight over the pink-frosted ones. Something about those soft pastel colors makes people feel like kids again, reaching for cookies with pure delight.
My niece helped me mix the food coloring into the buttercream, and her face lit up when the white frosting turned into soft lavender and mint green. She insisted we taste test every single color, just to be sure they were all good.
Ingredients
- 2 ½ cups all-purpose flour: The foundation that gives these cookies their tender crumb without becoming tough
- ½ teaspoon baking powder: Just enough lift to create that delicate texture without making them cakey
- ¼ teaspoon salt: Balances the sweetness and brings out the vanilla flavor
- ¾ cup unsalted butter: Room temperature is crucial here for proper creaming and that melt in your mouth texture
- 1 cup granulated sugar: Creates the classic sugar cookie sweetness while helping edges get perfectly golden
- 1 large egg: Binds everything together and adds richness
- 1 teaspoon pure vanilla extract: Use the real stuff, it makes all the difference in the final flavor
- ½ cup unsalted butter for buttercream: Starting with room temperature butter prevents grainy frosting
- 2 cups powdered sugar: Sifting first eliminates lumps for silky smooth buttercream
- 1 ½ tablespoons milk: Adjust to reach your perfect piping consistency
- 1 teaspoon pure vanilla extract: Infuses the filling with that comforting homemade taste
- Pastel gel food coloring: Gel colors give you those soft dreamy shades without thinning the frosting
Instructions
- Whisk the dry ingredients together:
- In a medium bowl, combine the flour, baking powder, and salt until everything is evenly distributed
- Cream the butter and sugar:
- Beat them on medium speed for about 2 to 3 minutes until the mixture looks pale and fluffy, scraping down the bowl once
- Add the egg and vanilla:
- Mix until fully incorporated, about another minute, making sure to scrape the bottom of the bowl
- Combine the dough:
- Gradually add the dry ingredients, mixing just until you no longer see flour streaks, being careful not to overmix
- Chill the dough:
- Divide in half, flatten into discs, wrap tightly, and refrigerate for at least 30 minutes until firm
- Prepare for baking:
- Preheat your oven to 350°F and line two baking sheets with parchment paper
- Roll and cut:
- On a floured surface, roll dough to ¼ inch thickness and cut into 2 inch rounds, placing them 1 inch apart on the sheets
- Bake to perfection:
- Bake for 8 to 10 minutes until edges just start turning golden, then let cool on sheets for 2 minutes before moving to racks
- Make the buttercream:
- Beat butter until creamy, then gradually add powdered sugar, milk, vanilla, and salt until smooth and fluffy
- Create pastel magic:
- Divide the buttercream into small bowls and tint each with a different pastel gel color, mixing gently
- Assemble the sandwiches:
- Spread or pipe buttercream on half the cookies and top with remaining cookies, pressing gently
- Let them set:
- Allow the assembled cookies to rest for 20 minutes so the buttercream firms up slightly
 Pin This
 These became my go to contribution for spring potlucks after a friend asked me to bring something that looked like I tried. Now I get requests for them every time there is even a hint of celebration.
Getting Perfect Pastels
Start with just a tiny amount of gel coloring on a toothpick because you can always add more but you cannot take it away. The most gorgeous pastel shades come from barely there color, barely enough to tint the white buttercream into something dreamy and soft.
Making Assembly Easier
I learned to pair up my cookies before I even start frosting so similar sizes match up automatically. This prevents the frustration of reaching the end only to realize your final sandwich has one giant cookie and one tiny one.
Storage and Serving Tips
These actually taste better on day two after the buttercream has softened the cookies slightly. Keep them in a single layer in an airtight container at room temperature.
- Store with parchment paper between layers if you must stack them
- Let them come to room temperature before serving if you refrigerated them
- The buttercream pipes best when slightly cool but spreads easier when soft
 Pin This
 There is something so satisfying about a plate of pastel sandwich cookies, like little edible promises that spring is coming. Happy baking.
Recipe FAQs
- → Can I make the cookie dough ahead of time?
-
Absolutely! The dough can be wrapped and refrigerated for up to 3 days before baking, or frozen for up to 3 months. Just thaw overnight in the refrigerator before rolling and cutting.
- → What's the best way to achieve true pastel colors?
-
Start with a tiny amount of gel food coloring—you can always add more. Gel coloring is more concentrated than liquid, so less is needed. For pastels, aim for about 1⁄8 to 1⁄4 teaspoon per bowl of buttercream.
- → Can I use liquid food coloring instead of gel?
-
While possible, liquid food coloring may make your buttercream too thin and affect the texture. If using liquid, add it drop by drop and compensate by reducing the milk in the filling.
- → How do I prevent the cookies from spreading too much?
-
Chilling the dough is crucial—at least 30 minutes in the refrigerator helps the cookies hold their shape. Also, avoid overmixing once the flour is added, and make sure your butter is properly softened but not melted.
- → Can I make these gluten-free?
-
You can substitute the all-purpose flour with a 1:1 gluten-free baking blend, though the texture may be slightly more delicate. Look for a blend that includes xanthan gum for the best structure.
- → What's the best way to store these?
-
Keep them in an airtight container at room temperature for up to 3 days. If your kitchen is particularly warm, you may want to refrigerate them, but bring to room temperature before serving for the best texture.