Pin This
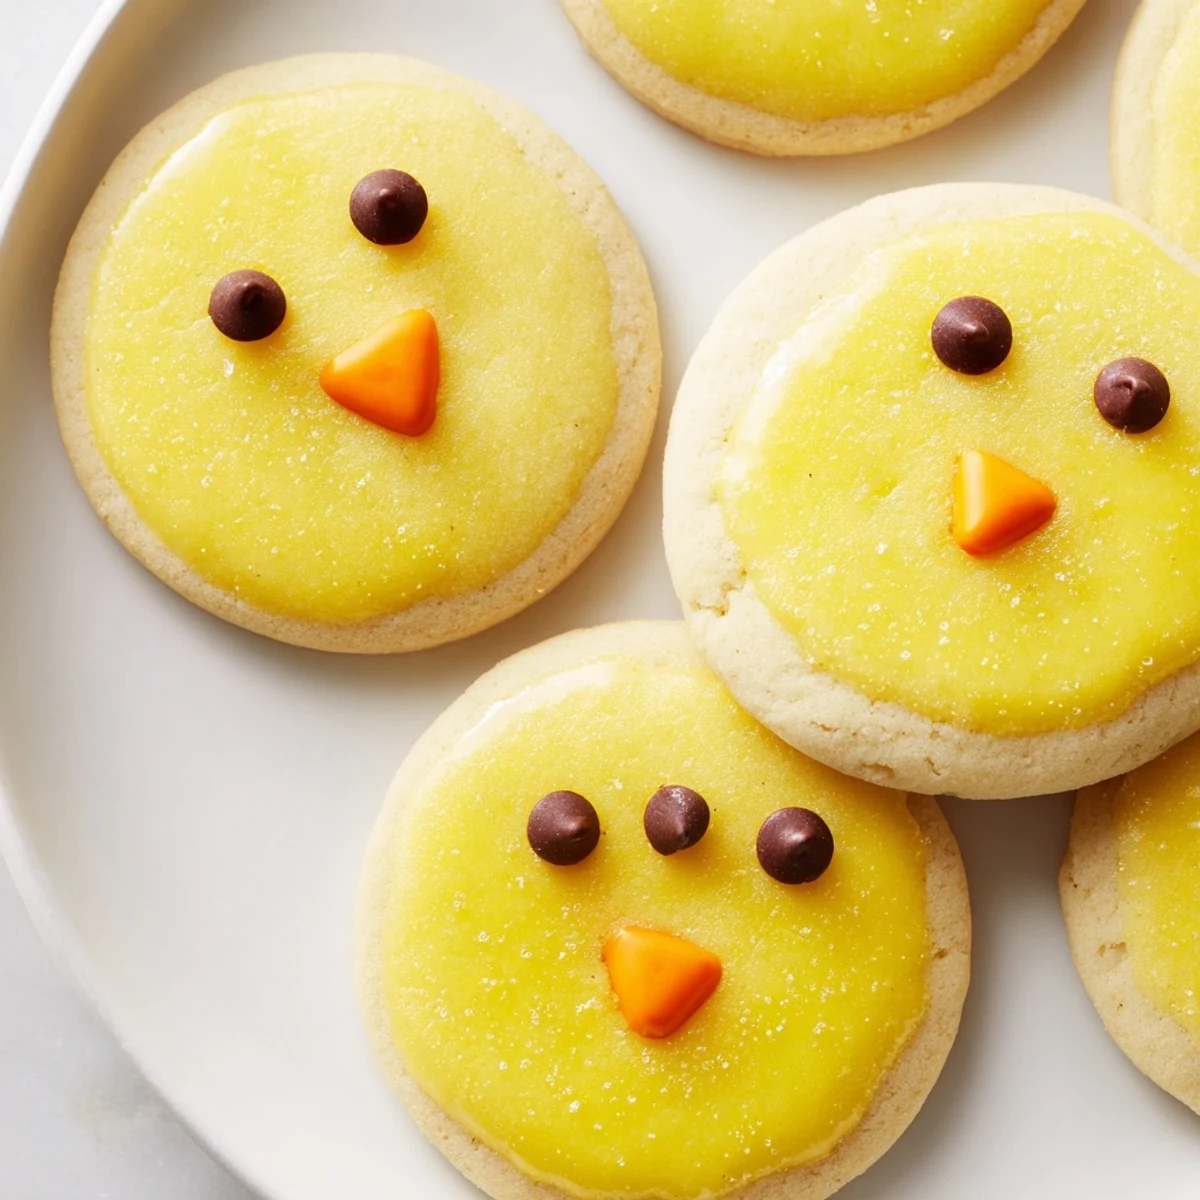
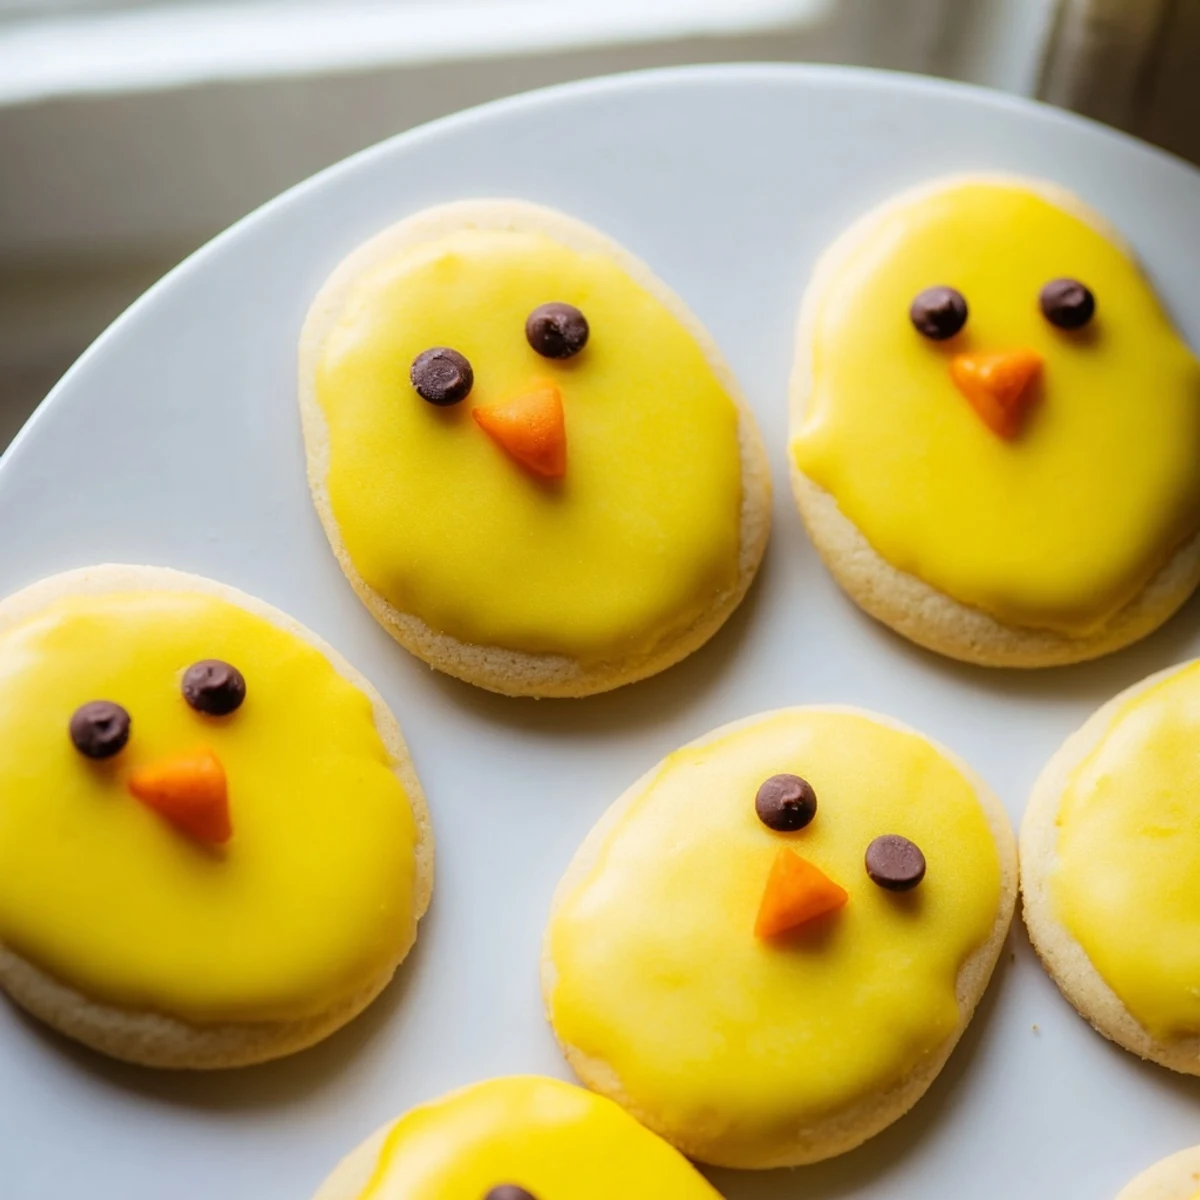
 These delightful chick-shaped sugar cookies combine a classic buttery dough with vibrant yellow coloring and playful faces. Perfect for spring gatherings, the tender crumb and subtle vanilla flavor appeal to both children and adults. The simple decoration process uses basic pantry ingredients like powdered sugar glaze, chocolate chips, and orange candy to create charming facial features. With just 30 minutes from start to finish, these treats work beautifully for Easter brunches, baby showers, or classroom parties. The dough handles beautifully—chill briefly if sticky—and bakes to golden perfection.
Last spring, my niece came over for what was supposed to be a quick baking lesson, but somehow we spent three hours covered in yellow food dye, laughing at the ridiculous little chick faces we were creating. Those buttery cookies were gone within hours at her Easter party, and she still talks about them every time flowers start blooming.
I made these for a neighborhood potluck and watched a three-year-old insist on taking home five chicks in her pockets. Her mom texted me later saying she had to carefully extract the cookie crumbs from tiny denim pockets at bedtime. The kids still ask when Im bringing the chick cookies back.
Ingredients
- 2 1/4 cups all-purpose flour: This forms the foundation and creates a sturdy but tender cookie that holds its shape
- 1/2 teaspoon baking powder: Gives the cookies a slight rise without spreading too much
- 1/4 teaspoon salt: Enhances the buttery flavor and balances sweetness
- 3/4 cup unsalted butter at room temperature: The foundation of that classic sugar cookie flavor and texture
- 3/4 cup granulated sugar: Sweetens just enough without becoming cloying
- 1 large egg: Provides structure and helps bind the dough together
- 1 teaspoon vanilla extract: Adds a warm, comforting background flavor
- Yellow food coloring: Transforms plain dough into those adorable yellow chicks
- 3/4 cup powdered sugar and 2 tablespoons milk: Creates a simple glaze for extra shine and sweetness
- Black decorating gel or mini chocolate chips: Essential for giving your chicks their expressive eyes
- Orange decorating gel or candy: Brings each chick to life with a tiny beak
Instructions
- Getting everything ready:
- Preheat oven to 350°F and line two baking sheets with parchment paper so the chicks do not stick.
- Mixing the dry ingredients:
- In a bowl, whisk together flour, baking powder, and salt until well combined.
- Creaming butter and sugar:
- Beat butter and sugar until light and fluffy, then add egg and vanilla until well combined.
- Bringing the dough together:
- Gradually mix in the dry ingredients until a smooth dough forms.
- Coloring the dough:
- Add a few drops of yellow food coloring and knead until evenly colored.
- Shaping your chicks:
- Roll dough into 1-inch balls, placing one ball for the body and a slightly smaller one on top for the head, gently pressing together.
- Baking to perfection:
- Place cookies on baking sheets 2 inches apart and bake for 8 to 10 minutes until edges are just barely golden.
- Cooling completely:
- Let cookies cool completely before decorating so the faces do not melt or slide off.
- Adding the finishing touches:
- Mix powdered sugar with milk for a thin glaze, brush over cooled cookies for shine, then add black gel or chips for eyes and orange gel for beaks.
 Pin This
 My friend brought these to her daughters classroom and the teacher said it was the quietest the kids had been all year, completely focused on choosing which chick to eat first. Sometimes the cutest food gets the best reaction.
Making Dough in Advance
You can prepare the dough up to three days ahead and keep it wrapped tightly in the refrigerator. The food coloring might deepen slightly, which actually makes the chicks look even more vibrant.
Customizing Your Chicks
Sometimes I add a tiny sprinkle of colored sugar on top before baking for extra sparkle. The kids love picking their chicks based on the colors.
Storage and Sharing
These cookies stay fresh for up to five days in an airtight container at room temperature, though they rarely last that long in my house. Layer them between parchment paper so the faces do not stick together.
- Freeze undecorated dough balls for up to three months and bake fresh when needed
- Package them in clear bags tied with yellow ribbon for adorable party favors
- Set up a decorating station at parties and let guests create their own chick faces
 Pin This
 Nothing beats watching someone bite into a chick cookie and immediately start grinning at its tiny face staring back at them.
Recipe FAQs
- → Can I make the chick cookie dough ahead of time?
-
Yes, the dough can be wrapped tightly and refrigerated for up to 3 days or frozen for up to 3 months. Let it soften slightly at room temperature before shaping.
- → What can I use instead of food coloring?
-
Natural yellow coloring options include turmeric powder (about 1/4 teaspoon), saffron infusion, or yellow beet juice. These alternatives may slightly alter the flavor profile.
- → How do I store decorated chick cookies?
-
Store in an airtight container at room temperature for up to 5 days. Separate layers with parchment paper to prevent sticking. The glaze adds a protective layer that keeps them fresh.
- → Can I skip the glaze step?
-
Absolutely. The cookies are delicious plain or simply brushed with egg wash before baking for a subtle shine. The glaze is optional and mainly adds sweetness and visual appeal.
- → What's the best way to get uniform chick shapes?
-
Use a cookie scoop for the body portion and measure slightly smaller dough balls for heads. Gently press together where they meet—the heat from baking will fuse them seamlessly.
- → Can I make these dairy-free?
-
Substitute vegan butter sticks and plant-based milk. The texture remains similar, though chilling the dough becomes more important for easy handling.