 Pin This
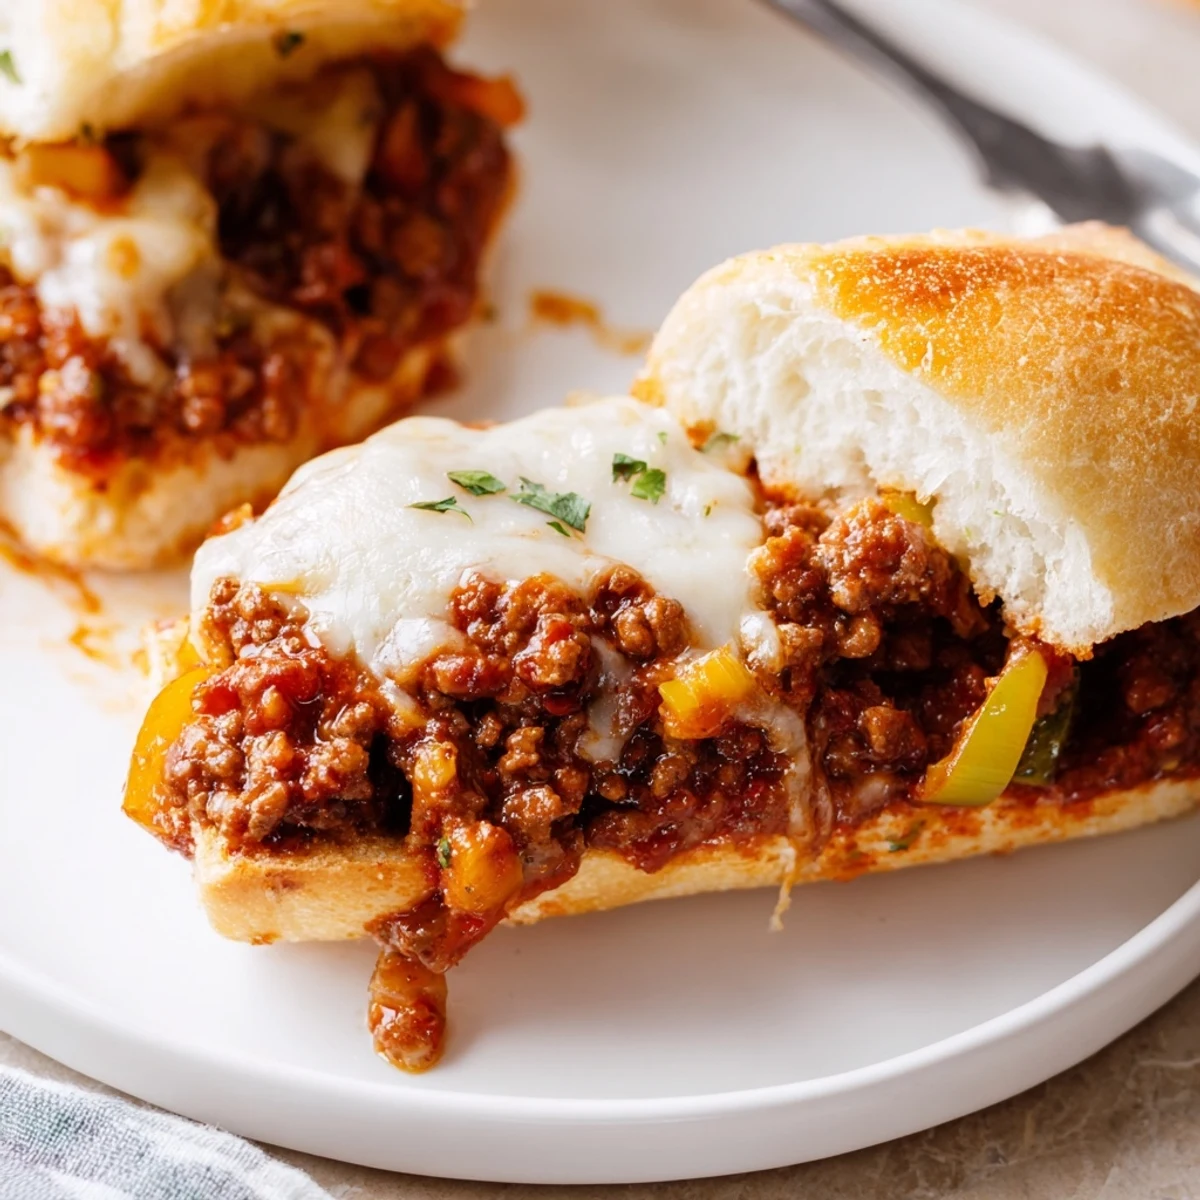
 Brown 1 lb ground beef, then add chopped onion, bell pepper and garlic. Stir in tomato sauce, paste, ketchup, Worcestershire, smoked paprika, brown sugar and oregano; simmer until thick. Split a baguette, brush with garlic-parsley butter and toast briefly. Pile on the filling, top with mozzarella and Parmesan, return to oven to melt. Ready in ~40 minutes; serves 4.
The sizzle of onions hitting a hot skillet always pulls me into the kitchen, but when I first tried making Garlic Bread Sloppy Joes, it was the buttery scent of toasting baguette that stole the show. This mash-up came together late one evening after a handful of friends dropped by unexpectedly hungry. With some ground beef and a leftover loaf, the idea just seemed to click—a crunchy, garlicky upgrade to the classic sandwich. By the time we broke out the napkins, hot cheese stretching between bites, everyone was hooked.
One Saturday, I whipped these up for a backyard movie night, only for the neighbors to start drifting over, lured by the impossible-to-ignore aroma. Serving them straight off the cutting board, people cheerfully competed for the crispiest, cheesiest corners. My hands were messy but the mood was light, and I realized these sandwiches were made for sharing (and laughing) in good company.
Ingredients
- Ground beef: Choose lean ground beef for a hearty, meaty filling that’s not greasy; browning it properly gives the whole dish flavor depth.
- Yellow onion: Finely chopped onions melt into the beef, creating a sweet base—don’t rush them or you’ll miss out on that delicate aroma.
- Green bell pepper: I find chopping these small helps them cook evenly and blend right into the mixture without taking over.
- Garlic (for filling and bread): Mincing fresh garlic packs the most punch—use a microplane if you really want the flavor to disperse throughout the dish.
- Tomato sauce & tomato paste: Combining the two gives just the right balance of sauciness and rich tomato flavor without being too runny.
- Ketchup & Worcestershire sauce: I still measure these each time—together, they add sweetness and umami that makes the filling anything but average.
- Smoked paprika & brown sugar: Smoked paprika gives a little depth, while brown sugar rounds out any acidic sharpness from the tomatoes.
- Salt, black pepper, dried oregano: Taste the filling as you go; these pantry staples bring everything into focus.
- French baguette or Italian loaf: Go with a loaf that’s sturdy enough to hold the filling—fresh bread crisps up perfectly in the oven.
- Unsalted butter, fresh parsley, salt (for garlic bread): Softened butter spreads easily, and fresh parsley gives a burst of color and brightness you really notice in each bite.
- Mozzarella & Parmesan cheese: Mozzarella melts luxuriously, while Parmesan delivers a savory kick and browns beautifully under the broiler.
Instructions
- Prep and Preheat:
- Set your oven to 400 °F (200 °C) and lay out a baking sheet with parchment—trust me, cleanup will be a breeze later.
- Brown the Beef:
- Scatter the beef into a hot skillet and listen for that sizzle; break it up as it cooks, and drain off any excess fat so the filling isn’t greasy.
- Sauté the Veggies:
- Toss in onion, bell pepper, and garlic—watch as the colors brighten and cling to the beef, and breathe in that homey aroma.
- Add Saucy Ingredients:
- Stir in tomato sauce, paste, ketchup, Worcestershire, smoked paprika, brown sugar, salt, pepper, and oregano; simmer until the mixture thickens and infuses your kitchen with a sweet-savory tang.
- Prepare the Bread:
- Slice your baguette evenly and mix the softened butter with garlic, parsley, and a sprinkle of salt until fragrant and speckled green.
- Spread and Toast:
- Slather the garlic butter over each bread half, then arrange them cut side up on your baking sheet before popping them in the oven until they’re just golden on top.
- Fill and Cheese:
- Spoon the bubbly sloppy joe filling generously over the bread, then shower with mozzarella and Parmesan for that stretchy, salty payoff.
- Bake to Finish:
- Return everything to the oven so the cheese melts into puddles, bubbling temptingly at the edges.
- Assemble and Slice:
- Press the top and bottom halves together gently, slice through the crackling crust, and serve while hot—don’t wait, this is best straight from the oven.
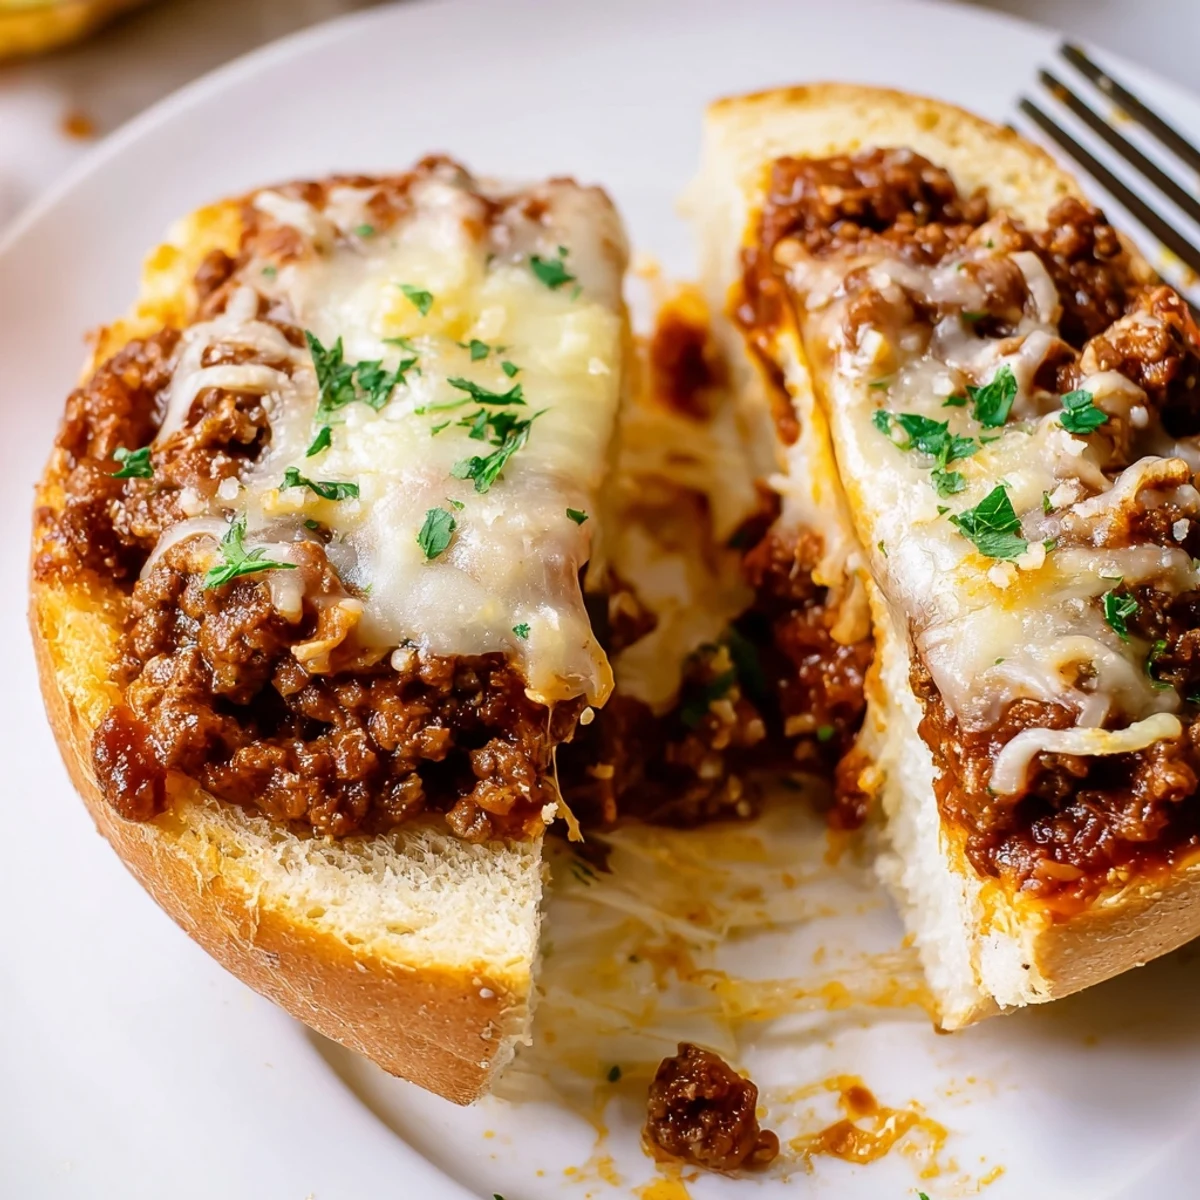 Pin This
 There was a moment when my niece, usually skeptical of messy foods, picked up her slice and took a giant, approving bite—her smile (and the trail of cheese on her chin) made this recipe one for the family memory books.
Make it Your Own: Ingredient Swaps
I’ve swapped in ground turkey plenty of times when beef wasn’t handy, and sometimes tossed in chopped jalapeños for an extra kick without changing the basic process at all. If you’re out of mozzarella, cheddar gives these sandwiches a sharp edge that’s totally addictive. Going meatless? Plant-based crumbles are an easy substitute that even meat lovers chow down happily.
Perfect Pairings for a Crowd
When we serve these at game night, a crisp green salad or a cold, tangy coleslaw really balances out the richness. For kids (or picky adults), a scoop of creamy mac and cheese on the side turns dinner into a celebration. Big pitchers of lemonade or iced tea are all you need for a crowd-pleasing meal.
Troubleshooting: Common Pitfalls and Fixes
One time the bread got a little too toasted, making it hard to slice neatly, but a damp towel over the hot loaf softened it up in minutes. If you forgot to drain the beef once, don’t panic—just tilt the pan and blot up excess grease with paper towels before adding the veggies. For the best cheese melt, let the bread cool for a quick moment before assembling so nothing slides off.
- Press the sandwich gently so the filling doesn’t squish out the sides.
- Try pre-slicing the bread before baking for easier serving.
- A sprinkle of extra parsley at the end freshens up the finished sandwiches.
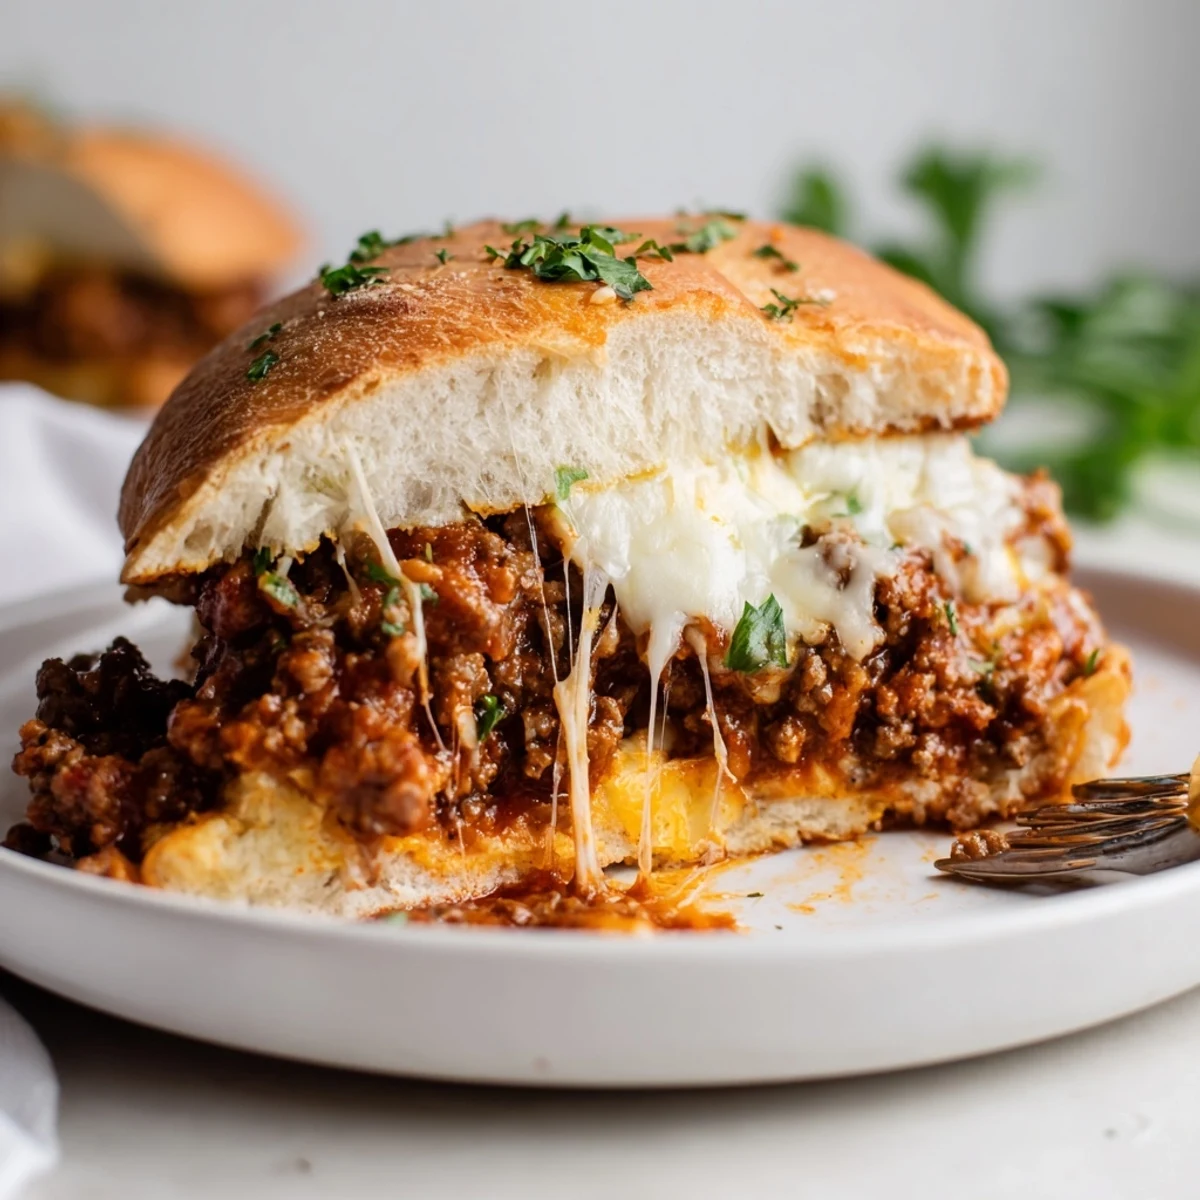 Pin This
 Whether you’re feeding a happy mess of friends or just want something special for a laid-back night in, Garlic Bread Sloppy Joes bring everyone together in the best (and messiest) way.
Recipe FAQs
- → Can I make the filling ahead of time?
-
Yes. Cook the filling, cool completely, then refrigerate in an airtight container up to 3 days or freeze up to 2 months. Reheat gently in a skillet or microwave before assembling.
- → What bread works best?
-
A sturdy baguette or Italian loaf is ideal for crisping and holding the filling. Thick-sliced sandwich or ciabatta also work; avoid very soft buns that will become soggy.
- → How can I adjust the spice level?
-
Add chopped jalapeño, a pinch of chili flakes, or cayenne for heat; reduce smoked paprika or omit spicy additions to keep it mild. Taste and adjust during simmering.
- → Any good cheese substitutes?
-
Monterey Jack, provolone or cheddar melt well and complement the tomato-forward filling. For a sharper finish, use aged cheddar or a gruyère blend.
- → How should leftovers be stored and reheated?
-
Store assembled or separate components in the fridge up to 3 days. Reheat the filling on the stovetop and warm bread in the oven at 350°F until crisp, then assemble and toast briefly to melt cheese.
- → Can I make a vegetarian version?
-
Yes. Swap ground beef for cooked lentils, plant-based crumbles or finely chopped mushrooms, and simmer with the same sauce and spices for similar texture and flavor.