 Pin This
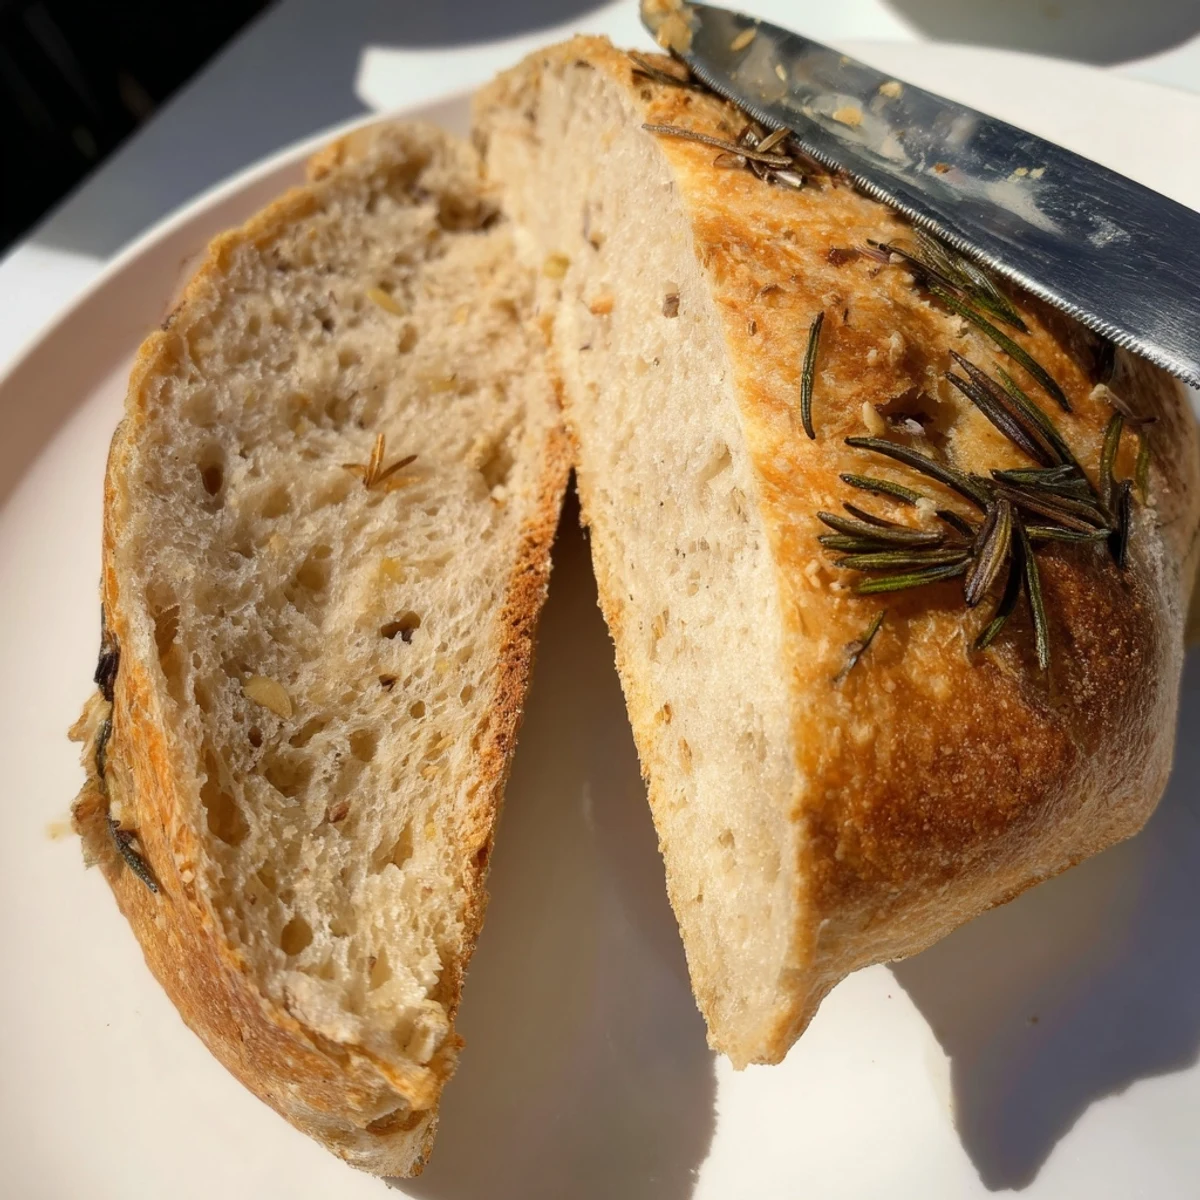
 Experience the joy of baking rustic artisanal bread at home with this straightforward Dutch oven technique. The combination of fresh garlic and fragrant rosemary creates an irresistible aroma that fills your kitchen. The high-heat cooking method produces a professional-quality crust with a delightfully chewy texture, while the steam-trapping Dutch oven ensures a perfectly soft and airy interior.
This European-style bread requires minimal hands-on time, making it perfect for both experienced bakers and beginners looking to elevate their homemade bread game. Serve alongside pasta dishes, soups, or enjoy simply with good olive oil and sea salt.
Last winter, when my kitchen felt too quiet, I started baking bread just to fill the house with something alive and breathing. The first time garlic and rosemary hit that hot iron Dutch oven, the aroma curled through every room like an invisible invitation. Now neighbors somehow appear at my door exactly when the timer goes off, claiming they were just passing by.
My sister visited last month and watched me slide the parchment paper into the screaming hot Dutch oven like I was performing surgery. She asked why I looked so intense, but I explained that bread demands a certain kind of attention. We tore into the loaf standing right there at the counter, burning our fingers on shards of crust, neither of us willing to wait for it to cool properly.
Ingredients
- Bread flour: Higher protein content than all purpose gives you that professional bread texture and structure
- Fine sea salt: Coarse salt won't distribute evenly, and the fine crystals dissolve beautifully into the dough
- Active dry yeast: Keep it fresh and store it in the freezer, because tired yeast makes for disappointing bread
- Lukewarm water: Think bathwater temperature, too hot kills the yeast and too cold puts it to sleep
- Olive oil: Adds subtle richness and helps keep the crumb tender even after days
- Fresh garlic: Minced small so it disperses throughout, creating little pockets of aromatic intensity
- Fresh rosemary: Finely chopped releases more oils, and fresh absolutely beats dried here
- Extra flour or cornmeal: Prevents sticking and adds that rustic bakery look to the bottom crust
Instructions
- Mix the dry foundation:
- Whisk the flour, salt, and yeast in your large bowl until they're completely incorporated, taking about thirty seconds to ensure even distribution
- Bring the dough together:
- Pour in the water and olive oil, stirring with a wooden spoon or your hands until a shaggy, sticky mass forms and no dry flour remains visible
- Fold in the aromatics:
- Add the minced garlic and chopped rosemary, folding them gently into the dough so they're evenly distributed without overworking the gluten
- Let it rise:
- Cover the bowl tightly with plastic wrap or a damp towel, then walk away for 2 to 3 hours until the dough has doubled and looks beautifully puffy
- Shape the loaf:
- Turn the dough onto a floured surface, use floured hands to fold the edges underneath until you have a tight ball, then place it seam side down on parchment paper
- The second rise:
- Loosely cover the dough and let it rest for 30 to 45 minutes while you preheat the oven, noticing how it relaxes and spreads slightly
- Preheat your Dutch oven:
- Place your Dutch oven with its lid into the oven and heat to 450°F for at least 30 minutes, because that screaming hot vessel is what creates the spectacular crust
- The careful transfer:
- Remove the Dutch oven, lift the parchment paper with the dough inside, lower it gently into the hot pot, and put the lid back on immediately
- Bake covered:
- Let it steam for 30 minutes with the lid on, creating that ideal environment for oven spring and a crackling crust
- Reveal and finish:
- Remove the lid and bake another 12 to 15 minutes until the crust transforms into a deep golden brown that sounds hollow when tapped
- The hardest part:
- Transfer the bread to a cooling rack and wait at least 20 minutes before slicing, or the steam will escape and leave the crumb gummy
 Pin This
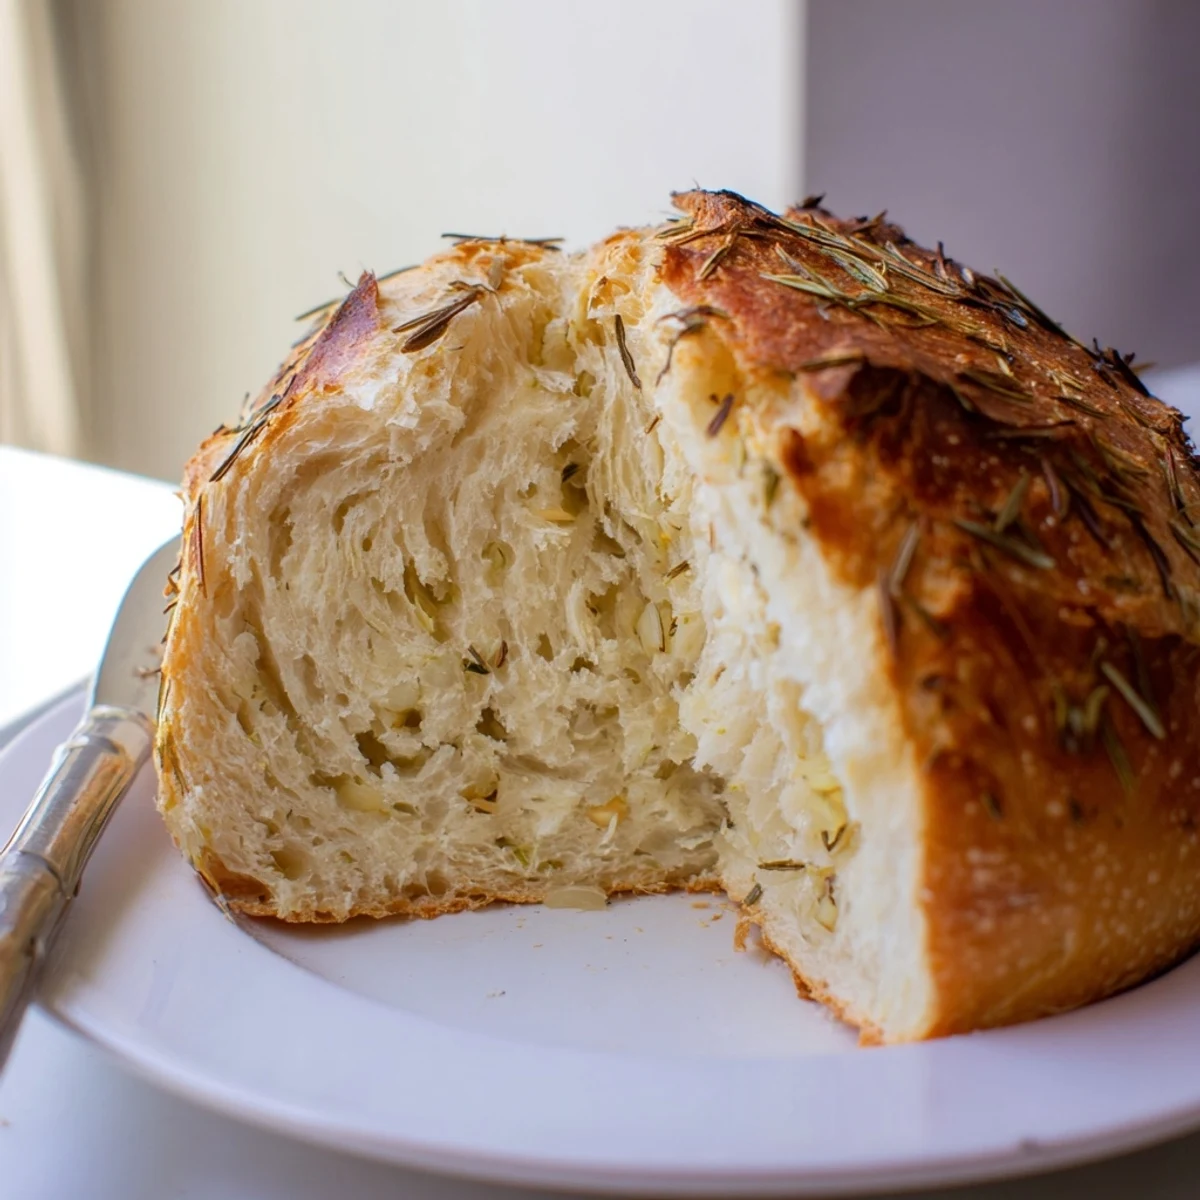
 Something meditative happens about halfway through the rise, watching the dough breathe and grow in the quiet kitchen. I've started timing it so the bread finishes right when my partner gets home from work. The look on their face when they walk through that garlic scented door makes the four hour wait feel like a small price to pay.
Making It Your Own
I've learned this dough happily accepts all sorts of additions, though I keep the base ratio sacred. Kalamata olives add a briny punch that cuts through the richness. Sun dried tomatoes bring sweetness and chew. Once I threw in some caramelized onions and forgot about them until they created these incredible concentrated pockets of flavor throughout the loaf.
The Leftover Situation
This bread somehow tastes better the second day, as the flavors have had time to settle and deepen. Slice any leftover loaf thick and toast it until the edges char slightly. Rub with a raw garlic clove while still hot and drizzle with good olive oil for a lunch that feels like something you'd order at a restaurant.
Timing Your Bake
I've made the mistake of starting bread at 6pm, hungry and impatient, only to eat dinner at 10pm. Start this in the morning or early afternoon. The active time is minimal, but you cannot rush the rise. Plus, a house smelling like garlic rosemary bread all day is not exactly a hardship.
- Set a timer for each stage so you do not forget about the dough
- If you are busy, let the first rise happen in the refrigerator overnight
- Always check that your oven has fully preheated before transferring the dough
 Pin This
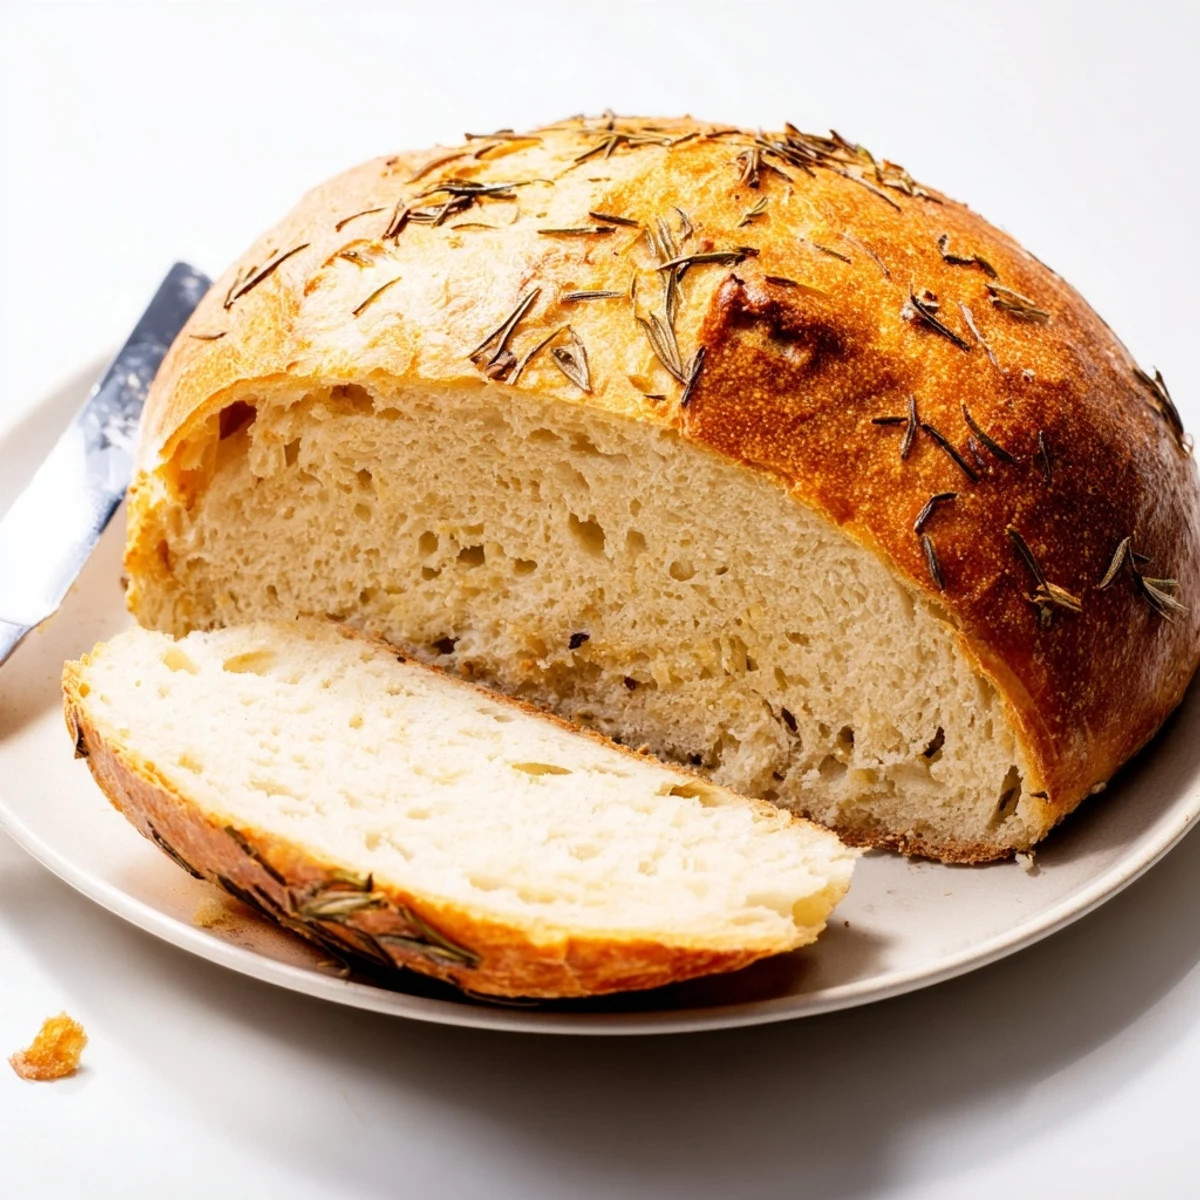
 Bread has this way of making a house feel like home, no matter where you live. Hope this recipe brings that same warmth to your kitchen.
Recipe FAQs
- → Can I use dried rosemary instead of fresh?
-
Yes, you can substitute dried rosemary, but use one-third the amount since dried herbs are more concentrated. Fresh rosemary provides the best aromatic flavor and texture in this loaf.
- → Why bake bread in a Dutch oven?
-
The Dutch oven creates a steam-filled environment that mimics professional bread ovens. This trapped moisture allows the bread to expand fully before the crust sets, resulting in that signature crisp, golden exterior and soft, airy crumb.
- → How do I know when the bread is done?
-
The bread is ready when the crust develops a deep golden-brown color and sounds hollow when tapped on the bottom. An instant thermometer inserted into the center should read between 190-200°F (88-93°C).
- → Can I make this without a Dutch oven?
-
You can use a heavy oven-safe pot with a tight-fitting lid, such as a cast iron pot or even a stainless steel soup pot. Alternatively, bake on a baking stone and create steam by placing a pan of hot water on the lower rack.
- → How should I store leftovers?
-
Wrap the cooled bread in a clean kitchen towel or place in a paper bag at room temperature for up to 2 days. For longer storage, slice and freeze in a freezer bag. Reheat in a 350°F oven for 10 minutes to refresh the crust.
- → Can I add other ingredients like olives or cheese?
-
Absolutely! Kalamata olives, sun-dried tomatoes, grated parmesan, or caramelized onions make excellent additions. Fold them in gently during step 3 when incorporating the garlic and rosemary.