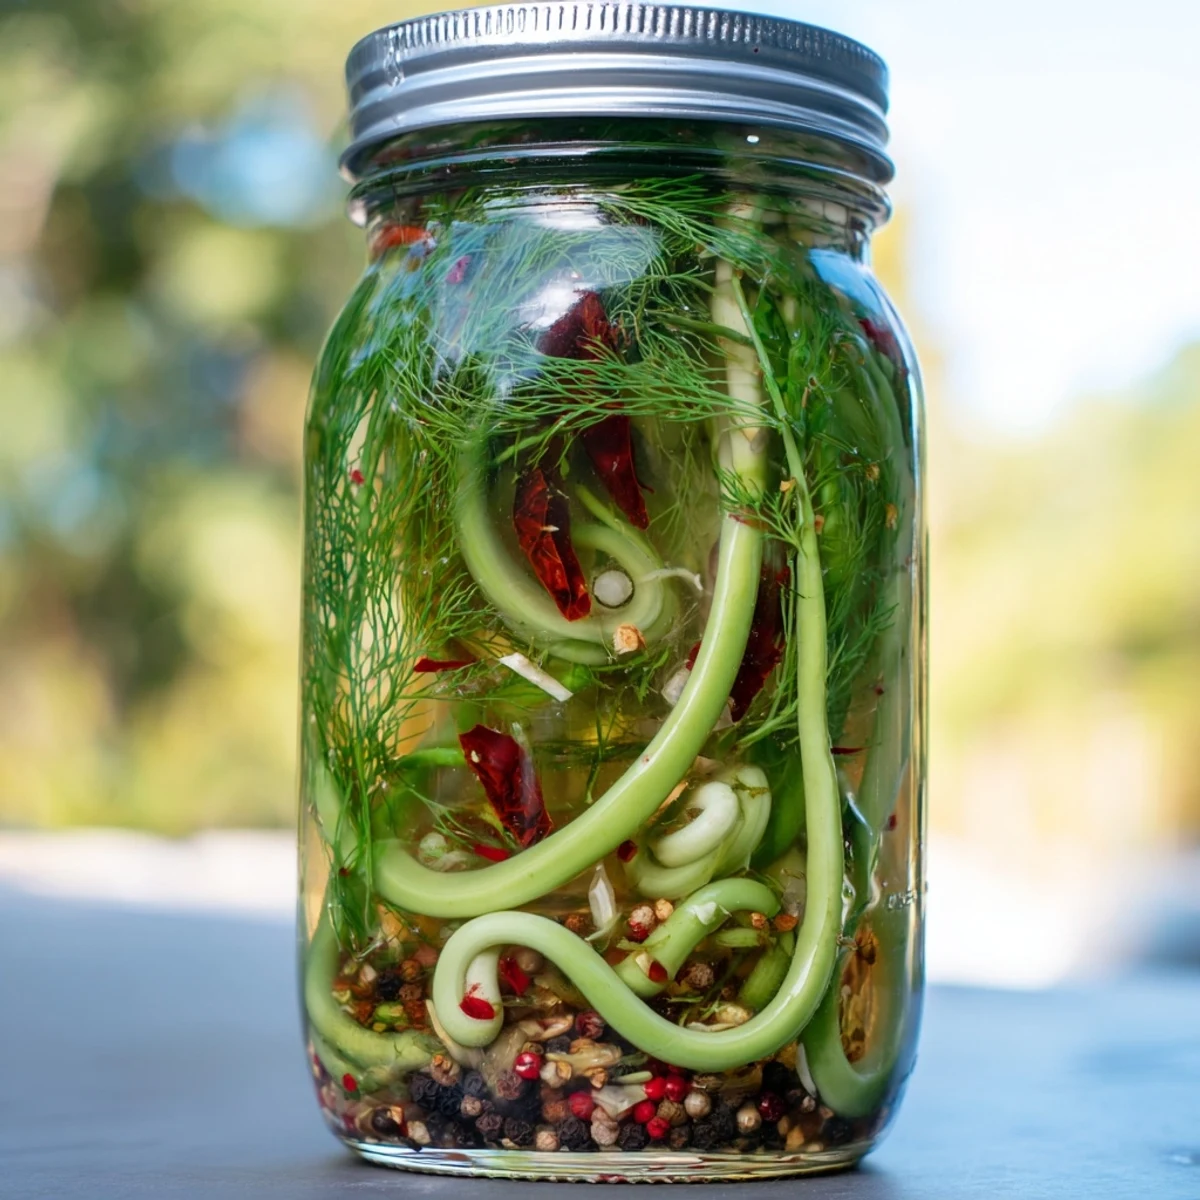
 Pin This
 Transform fresh garlic scapes into a tangy, crunchy condiment with this simple pickling method. The scapes are submerged in a aromatic vinegar brine infused with black peppercorns, mustard seeds, coriander, and dried chilies for a bold, zesty flavor profile.
After just 48 hours of refrigeration, you'll have crisp, spicy pickled scapes that add incredible zest to charcuterie boards, salads, and sandwiches. The flavors continue developing over a week, becoming even more complex and satisfying.
This preservation technique keeps the scapes crunchy while the brine penetrates thoroughly, creating a perfect balance of tangy vinegar and gentle heat from the red pepper flakes and whole dried chilies.
The first time I saw garlic scapes at the farmers market, I thought they were some kind of alien green curly fries. The farmer laughed and explained they were the flower stems from hardneck garlic plants, harvested so all the energy goes into the bulb. I bought two bunches on a whim, brought them home, and decided to experiment with pickling after realizing how incredibly fresh and garlicky they smelled. That experiment turned into these jars of tangy, crunchy goodness that now live permanently in my refrigerator door.
Last summer I brought a jar to a neighborhood potluck, and my friend Sarah kept returning to the kitchen to sneak another one. She texted me two days later asking for the recipe, saying her husband had finished the entire jar in one sitting while watching baseball. Now I make double batches whenever scapes appear in late spring, knowing that jars will disappear faster than I can replenish them.
Ingredients
- Garlic Scapes: Fresh scapes have a mild garlicky flavor that is sweeter than cloves and becomes beautifully mellow when pickled. Look for tightly curled, bright green stems without any yellowing or wilting at the farmers market in early summer.
- Distilled White Vinegar: This provides a clean, sharp acidity that lets the scapes shine without competing flavors. Apple cider vinegar works too but will give the final pickle a murkier appearance and slightly fruitier notes.
- Granulated Sugar: Just enough to balance the harshness of the vinegar and salt without making the pickles taste sweet. The sugar helps round out all the flavors and makes the brine more balanced overall.
- Kosher Salt: The coarse crystals dissolve easily in hot liquid and provide clean salinity without the anti-caking agents found in table salt. Do not substitute with iodized salt as it can make the brine cloudy and slightly metallic.
- Black Peppercorns: Whole peppercorns release their aromatic warmth slowly into the brine over days. Crushing them slightly beforehand helps extract more flavor, but leaving them whole makes for a prettier jar.
- Mustard Seeds: These add a subtle earthy depth and slight bitterness that complements the sharp scapes perfectly. Yellow mustard seeds are milder while brown ones have more heat and complexity.
- Coriander Seeds: Lightly crushing these releases their citrusy, floral notes that brighten the entire brine. They are the secret ingredient that makes these pickles taste more sophisticated than typical refrigerator pickles.
- Red Pepper Flakes: Adjust based on your spice tolerance since the heat will concentrate over time. Start with half a teaspoon if you are sensitive, or bump it to a full teaspoon if you like things fiery.
- Dried Chilies: Whole dried chilies look beautiful floating in the jar and infuse a gentle background heat. Thai bird chilies or arbol peppers work wonderfully here, or skip them entirely for a mild version.
- Bay Leaves: These provide an herbal, almost woodsy foundation that helps tie all the spices together. Dried bay leaves work perfectly fine, so do not feel like you need to hunt down fresh ones.
- Fresh Dill: Completely optional but adds a lovely aromatic freshness that echoes the garlicky scapes. Use dill sprigs rather than chopped leaves for easier removal later and a prettier presentation.
Instructions
- Get your jars ready first:
- Wash two pint jars and their lids thoroughly with hot soapy water, then either run them through the hot dishwasher cycle or boil them for ten minutes to sterilize. Clean jars prevent any unwanted bacteria from spoiling your pickles and ensure they stay fresh for the full month.
- Prep the garlic scapes:
- Trim off the tough bottom ends and any woody parts, then cut the scapes to fit your jars with about an inch of headspace. The curly nature of scapes means you can often spiral them into the jar, which looks lovely and helps pack more in.
- Start packing those jars:
- Divide the fresh dill sprigs and dried chilies between the two sterilized jars, then begin packing the trimmed scapes in tightly. Use clean chopsticks or the handle of a wooden spoon to gently nudge them down and eliminate air pockets.
- Add the aromatic spices:
- Split the peppercorns, mustard seeds, coriander seeds, and red pepper flakes evenly between both jars, then tuck a bay leaf into each one. The spices will settle throughout the jar as the brine gets poured in, distributing flavor evenly to every single scape.
- Create the vinegar brine:
- Combine the vinegar, water, sugar, and salt in a medium saucepan and bring it to a rolling boil. Stir constantly to ensure the sugar and salt dissolve completely, which usually takes about two minutes once the liquid reaches a boil.
- Por the hot brine carefully:
- Working carefully to avoid burns, pour the hot brine over the packed scapes until they are completely submerged. Leave about a half inch of space at the top to account for expansion and prevent any leakage when you seal the jars.
- Seal and let them cool:
- Screw the lids on tightly and set the jars on a folded towel or cooling rack. Let them cool completely to room temperature, which usually takes about two hours, before moving them to the refrigerator.
- Exercise patience for maximum flavor:
- Wait at least forty-eight hours before cracking open a jar, though the flavor will continue developing for up to a week. The scapes transform from raw and sharp to tangy, mellow, and incredibly moreish during this time.
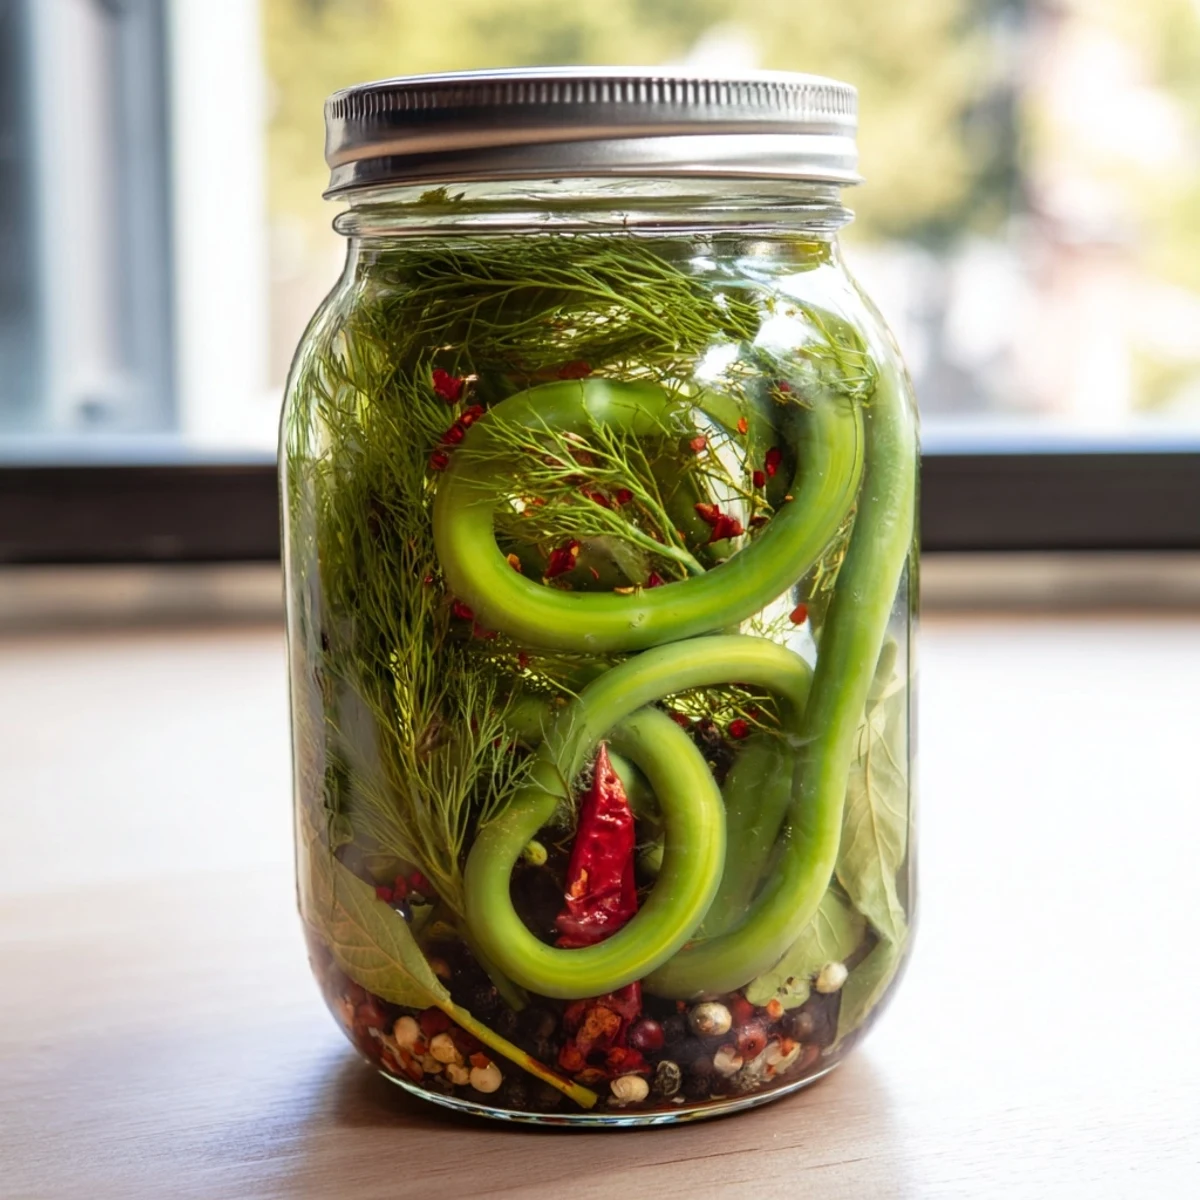 Pin This
 My neighbor Tom, who claims to dislike pickled anything, tried one on a dare during a backyard cookout and ended up eating half the jar. He texted me the next morning asking which farmers market stall had the scapes so he could make his own batch. There is something incredibly satisfying about turning a curious discovery into a recipe that converts pickle skeptics.
Serving Ideas
These pickled scapes shine alongside rich, fatty foods like cheese boards, charcuterie plates, or roasted meats. Their tang and crunch cut through creaminess beautifully, making them perfect partners for sharp cheddar, soft brie, or even rich pâtés. I also love chopping them into potato salad or egg salad for an unexpected twist that wakes up the whole dish.
Timing Your Pickles
Galic scapes appear at farmers markets for just a few short weeks in late spring and early summer, usually May and June depending on your region. Buy them immediately when you spot them because they disappear quickly, and consider buying extra to pickle in multiple batches. The pickled scapes will last up to a month in the refrigerator, carrying you through until the next season arrives.
Customizing Your Brine
Once you master the basic recipe, start experimenting with different spice combinations to make the recipe your own. Smoked paprika adds a wonderful depth, fennel seeds bring a licorice note, or a cinnamon stick creates a warmer, almost autumnal version.
- Add sliced carrots or radishes to the jar for extra color and variety
- Swap some white vinegar for rice vinegar for a slightly sweeter, mellower pickle
- Try adding a peeled garlic clove or two for an extra kick of traditional garlic flavor
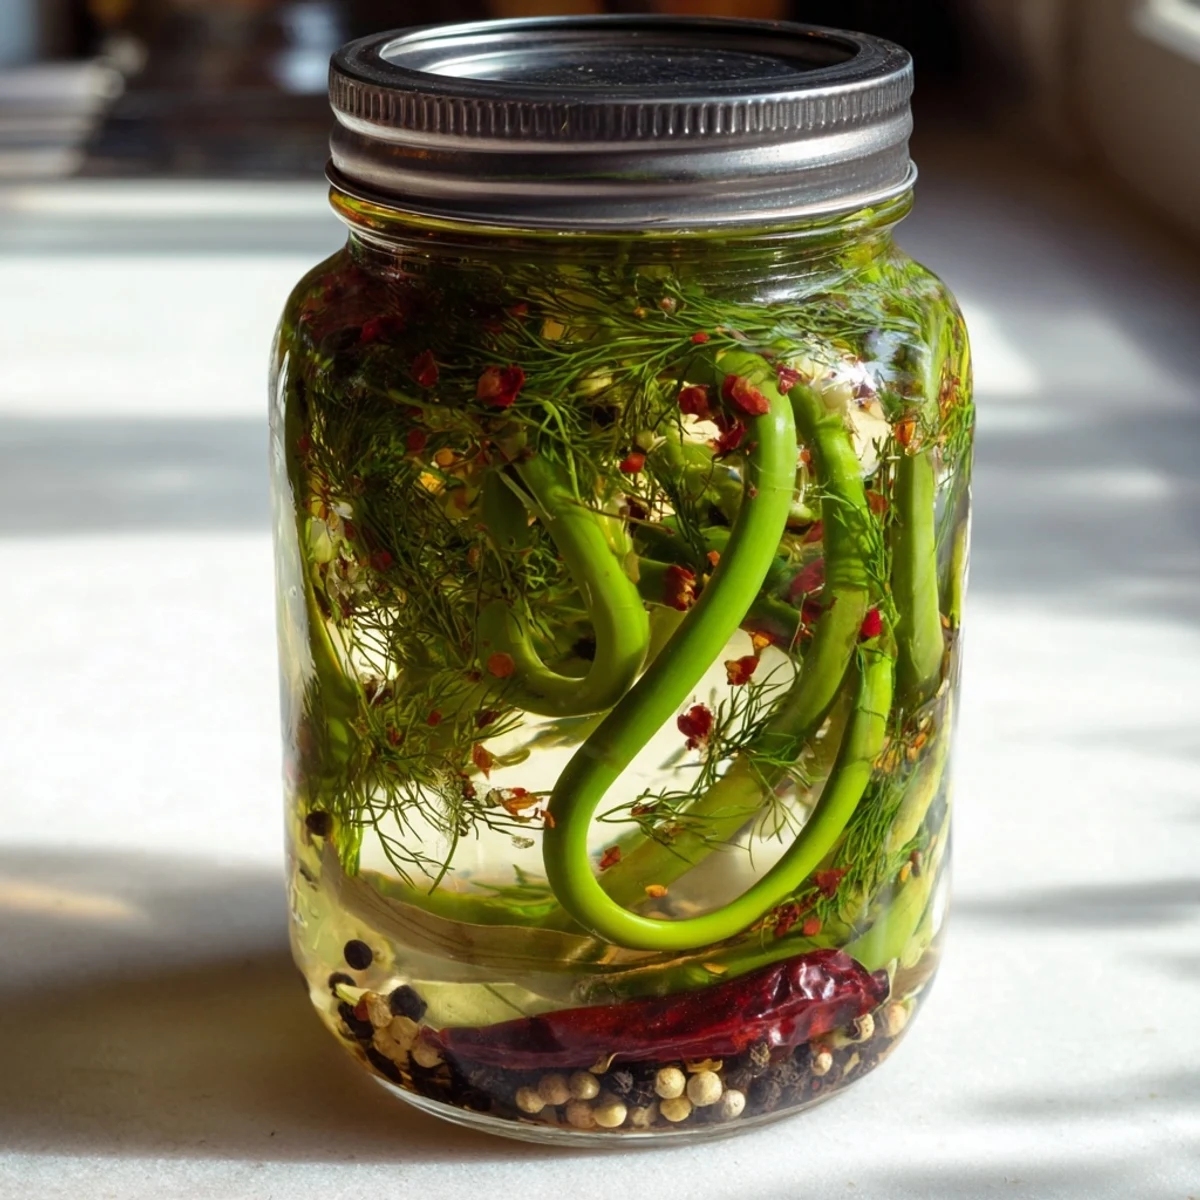 Pin This
 There is something deeply satisfying about preserving a fleeting seasonal ingredient in a jar that you can revisit months later. These spicy pickled garlic scapes capture the essence of early summer in every crunchy, tangy bite.
Recipe FAQs
- → How long do pickled garlic scapes last?
-
When stored properly in the refrigerator, these pickled scapes will stay fresh for up to one month. Keep the jars tightly sealed and ensure the scapes remain submerged in the brine for optimal preservation.
- → Can I adjust the spice level?
-
Absolutely. Increase the red pepper flakes or add more dried chilies for extra heat. For a milder version, reduce the chili flakes to 1/4 teaspoon or omit the dried chilies entirely while keeping the other spices for flavor depth.
- → What can I serve with pickled garlic scapes?
-
These versatile pickled scapes shine on charcuterie boards alongside cheeses and cured meats. They're also excellent chopped into salads, added to sandwiches for crunch, or served as a tangy condiment with grilled meats and rich dishes.
- → Do I need to process the jars in a water bath?
-
No water bath canning is required for this refrigerator pickle method. Simply sterilize the jars, pack with scapes and spices, pour the hot brine over, seal, and refrigerate. The acidic brine and refrigeration keep them safely preserved.
- → Can I add other vegetables to the jars?
-
Yes, sliced carrots, radishes, or even pearl onions work beautifully alongside the scapes. Just ensure all vegetables are submerged in the brine and cut them to similar sizes for even pickling timing.
- → When are they ready to eat?
-
Minimum wait time is 48 hours for the brine to fully penetrate and flavors to develop. However, patience pays off—the scapes taste even better after one week of refrigeration when the spices have fully melded with the garlic's natural flavors.