 Pin This
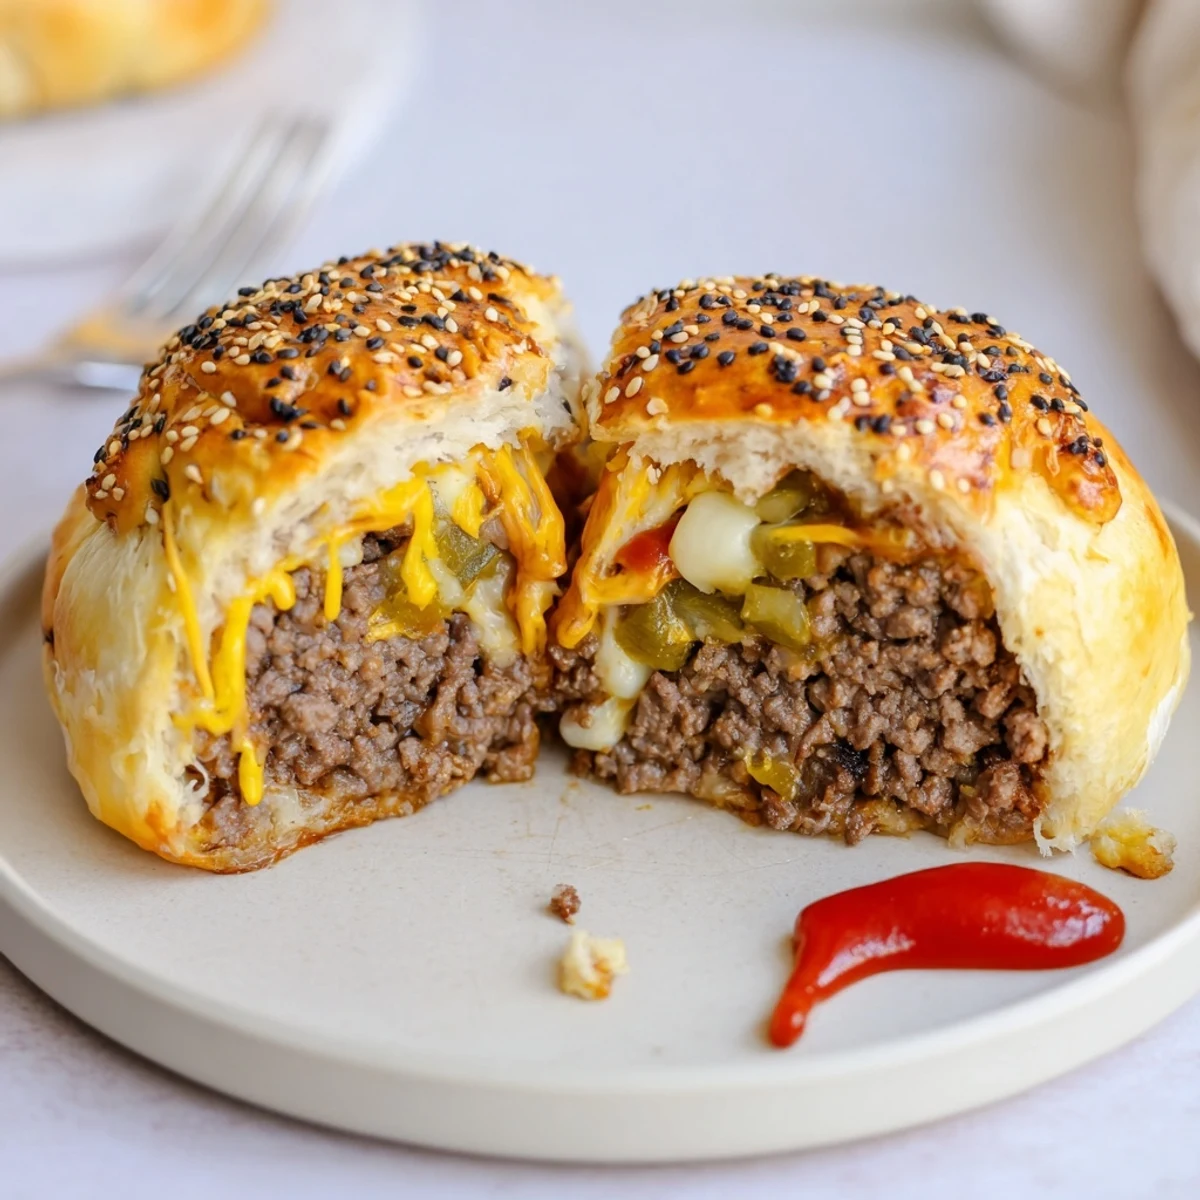
 These golden biscuit-wrapped cheeseburger bombs yield 8 servings in about 50 minutes and make a crowd-pleasing handheld. Brown seasoned ground beef with onion, drain, then fold in ketchup, mustard, Worcestershire and optional pickles. Let the mixture cool so cheese stays inside. Spoon beef and shredded cheddar onto flattened biscuit rounds, top with a mozzarella cube, pinch tightly to seal, brush with egg wash and scatter sesame seeds. Bake at 200°C (400°F) until deep golden, 15–18 minutes. Rest briefly before serving; pair with ketchup, mustard or burger sauce. Contains gluten, milk and eggs.
The kitchen took on a whole new level of energy when I tried my hand at these Cheesy Cheeseburger Bombs. As the smell of browning beef and melting cheese swirled together, even the neighbor’s dog seemed intrigued, pressing its nose against our window. There’s just something about biscuit-wrapped, oozing cheese that brings out the playful side of dinner. The best part: everyone ends up grinning with their first bite.
One Friday, I made a double batch to surprise my friends during movie night. I still laugh about the mad scramble for seconds—the usual debates over pizza or burgers faded as soon as the first tray came out. I got a little competitive assembling them, trying to see whose bombs would burst out with the most cheese pull. It turned into our unofficial test for future snack experiments.
Ingredients
- Ground beef: Good-quality, not too lean beef keeps the filling savory and juicy—don’t rush the browning step so flavors deepen.
- Shredded cheddar cheese: This cheese gives the bombs big flavor and that classic burger aroma; freshly shredded melts best.
- Mozzarella cheese cubes: Tucked in the center for an oozy, stretchy surprise—chill the cubes so they stay intact until baking.
- Onion: Sautéed first for subtle sweetness and to soften its bite; a quick dice ensures you don’t get big raw pieces.
- Pickle: Optional, but a chopped pickle brings that tangy burger finish—add only after the heat’s off to keep the crunch.
- Refrigerated biscuit dough: Store-bought means less fuss, but pressing the rounds evenly is key so everything wraps without leaks.
- Ketchup & yellow mustard: These work together for a classic cheeseburger taste—don’t skip, even if it feels odd to mix into meat.
- Worcestershire sauce: Just a splash deepens the savoriness; I learned not to eyeball this—it’s strong.
- Garlic powder, salt, pepper: Layered seasoning gives the beef substance; use garlic powder for gentle flavor that doesn’t overpower.
- Egg (beaten): Brushed over each bomb for golden color and a glossy bakery finish.
- Sesame seeds: A sprinkle instantly makes these feel like true cheeseburgers and adds a slight nutty crunch.
Instructions
- Get set up:
- Fire up your oven to 200°C (400°F), line a baking sheet with parchment, and have your egg wash ready in a small bowl.
- Sauté and sizzle:
- Toss onions into a skillet and cook until soft—you’ll know by the gentle sweetness rising from the pan. Add beef, garlic powder, salt, and pepper, stirring until the beef’s browned and crumbly; drain any excess fat.
- Add flavor boosters:
- Mix ketchup, mustard, Worcestershire, and pickles into the skillet and let everything mingle off the heat. Give it a taste—the balance of tang and beefy depth is key here.
- Shape and stuff:
- Flatten each biscuit round, then drop a spoonful of cooled beef, a sprinkle of cheddar, and a cube of mozzarella right in the center. Working gently, fold the dough around the filling and pinch it sealed like you’re wrapping a present.
- Finish and bake:
- Place the finished bombs seam-side down on your baking sheet. Brush generously with egg wash, scatter with sesame seeds, and bake for 15 to 18 minutes or until the tops are deeply golden and the kitchen smells irresistible.
- Serve and enjoy:
- Let the bombs rest briefly so you don’t lose all that cheese to impatience. Pass around with little bowls of sauce and marvel at the melty centers.
 Pin This
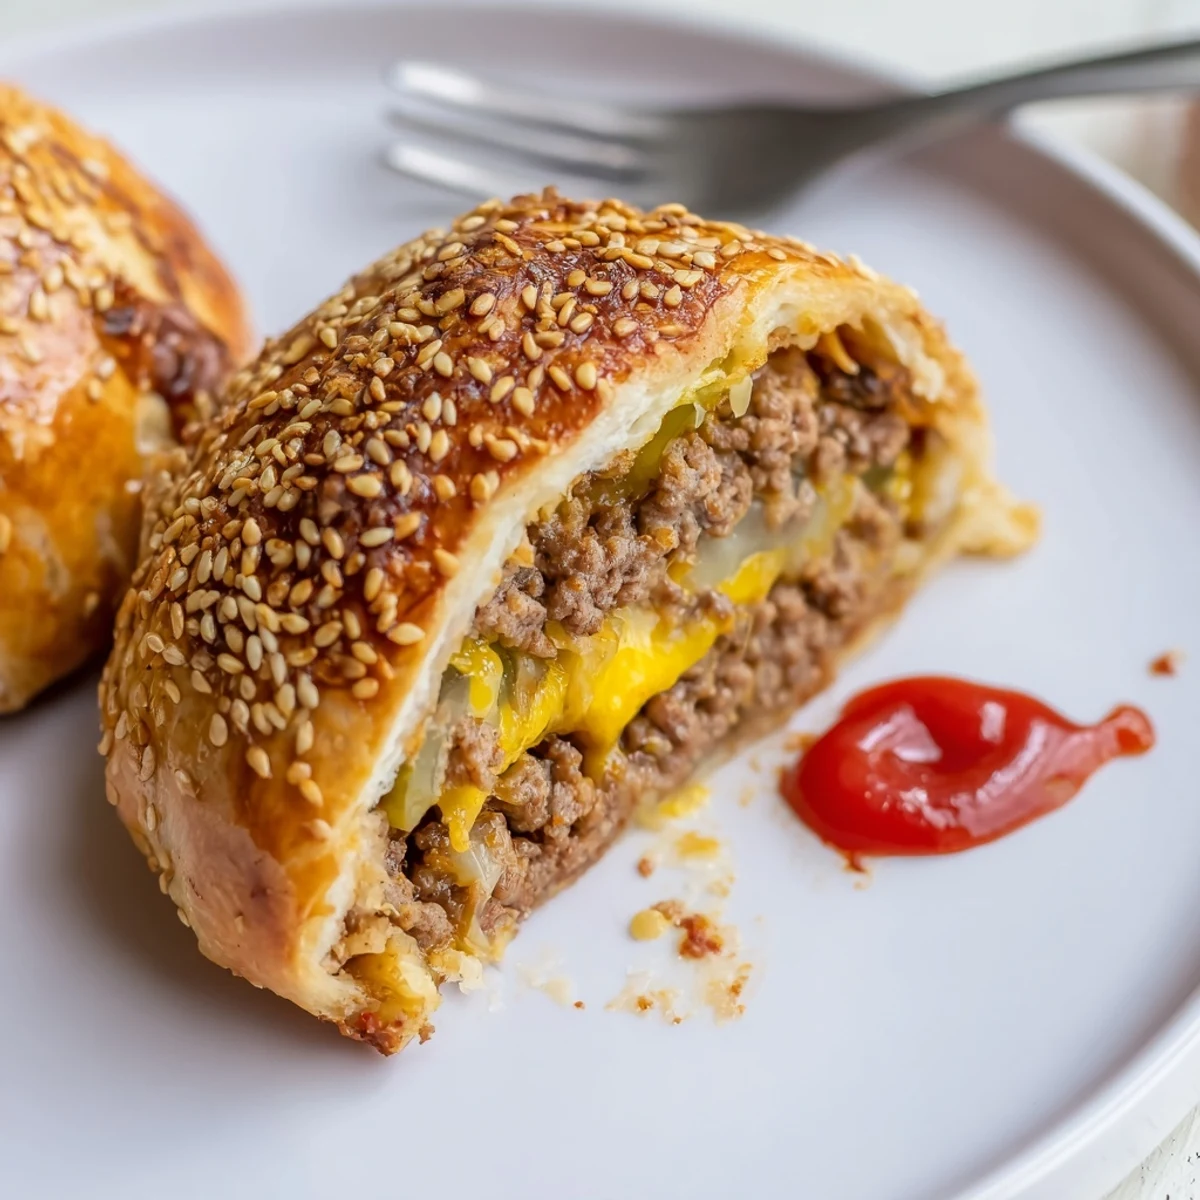
 When my cousin showed up unannounced, I threw these together amidst laughter and kitchen banter. By the time they hit the table, the room felt warmer, and the simple act of breaking open a cheeseburger bomb became a little celebration all on its own.
Make It Your Own
There’s a lot of freedom here—sometimes I swap cheddar for pepper jack, or sneak in little bits of crisp bacon for extra decadence. The only real rule: trust your cheese choices and don’t be afraid to play.
Serving Suggestions
I like to set out tiny cups of barbecue sauce, honey mustard, and classic ketchup so everyone can dip the way they want. These are a ringer for casual get-togethers, but I’ve also served them cut in half with fresh salad for a weeknight dinner twist.
Leftover Magic and Quick Tips
If you somehow have leftovers, popping them into the oven at 150°C (300°F) for eight minutes brings the gooey center back to life. My favorite part is sneaking one straight from the fridge as a midnight snack.
- Seal the edges well or the cheese will escape.
- Let the filling cool before wrapping with dough.
- Don’t skip the egg wash—it’s the finishing touch.
 Pin This
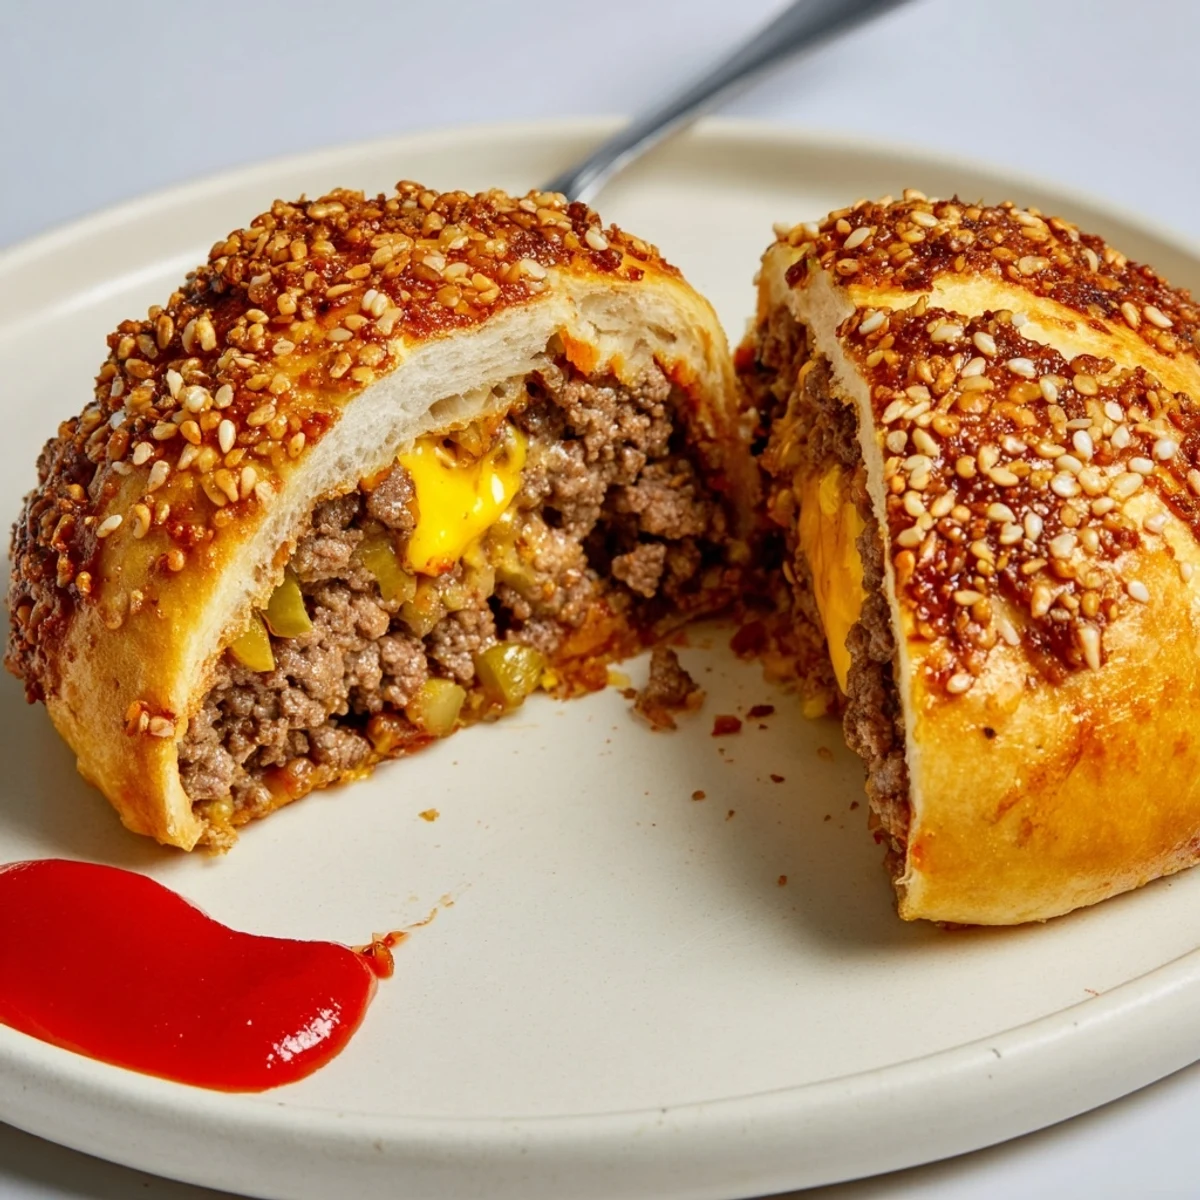
 Next time your people need smiles, let these cheesy bombs do the heavy lifting. Messy hands, stretchy cheese, and happy chatter guaranteed.
Recipe FAQs
- → Can these be made ahead and stored?
-
Yes. Assemble and refrigerate up to 24 hours; bake from chilled, adding a few minutes to the bake time. For longer storage, freeze unbaked bombs on a tray, then transfer to a bag and bake from frozen, increasing time by 6–10 minutes and covering if browning too fast.
- → How do I prevent cheese from leaking during baking?
-
Let the cooked beef cool slightly before filling and press edges tightly when sealing each biscuit. Use a small amount of shredded cheese with a single mozzarella cube to reduce excess melting and avoid overfilling.
- → What cheese swaps work well?
-
Cheddar and mozzarella are classic; swap cheddar for pepper jack for heat or use smoked gouda for a richer finish. Smaller cubes of a firmer cheese help maintain a gooey center without excessive run-out.
- → Can I make a gluten-free version?
-
Yes—use a gluten-free biscuit or dough alternative that holds when pinched. Baking times and browning may vary, so watch closely and tent with foil if the tops darken before the centers are done.
- → How should leftovers be reheated?
-
Reheat in a 180°C (350°F) oven for 8–10 minutes to crisp the exterior, or microwave briefly then finish in a hot oven to revive the crust. Avoid long microwaving to prevent sogginess.
- → Any tips for adding extra flavor?
-
Fold in cooked bacon bits or chopped pickles with the beef for added texture. Brush with a thin glaze of ketchup and mustard before baking for a glossy, burger-like finish and sprinkle sesame seeds for visual appeal.